Follow along as Michael Finch, a Suspension Specialist at 4Wheel Drive Hardware, builds this Cheap Cherokee project with all the preventive maintenance required and a number of choice, but economical, upgrades. Once complete, his teenage daughter will be able to drive to school and dance practice in something reliable, inexpensive and safe — and Michael can teach her off-roading. If you missed them, check out the Introduction to this project and the Front Suspension.
Bringing Up the Rear
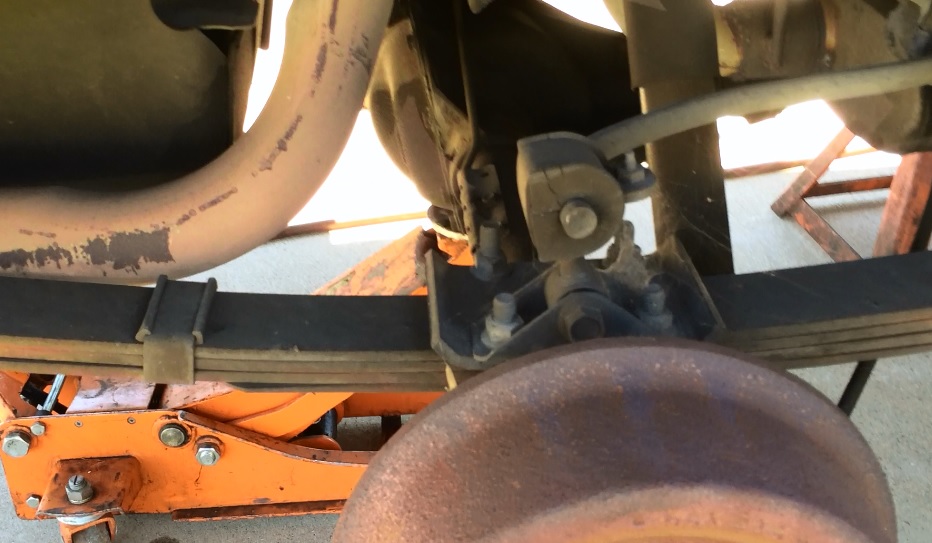
Now that we have the front end buttoned up, let’s get into the rear. The first thing is to get it up in the air and start to pull out the old spring parts. I start by setting the jack stands in front of the front spring boxes and dropping the truck down until the axle is drooped out. Then, I take it back up a couple of pumps on the floor jack with it under the pumpkin. Remove the tires and remove the horseshoe clip holding the brake line in, then push the rear brake line down to clear the bracket and pull it over and out. Do not open up the brake line so you avoid bleeding the brakes.
Now we remove the old shocks. Sometimes the upper bolt will break off in the body or the nut zert will just spin: either is bad and the few fixes there are aren’t fun. One of the most common is to cut a hole in the floor of the rear cargo area to get access to the top. There are online forums which can give you the measurements for where to cut. Mine came out without a fight, courtesy of the days I spent coating them with PB Blaster.
 Next, start to take the U-bolt nuts off. Often, the U-bolt is bent around the axle and will need some prying or help from a hammer to get off or get through the spring top plate. Once the U-bolts are off, you can drop the axle out farther to make it easier to get the springs out. Remember to watch your brake line to make sure you don’t overextend it.
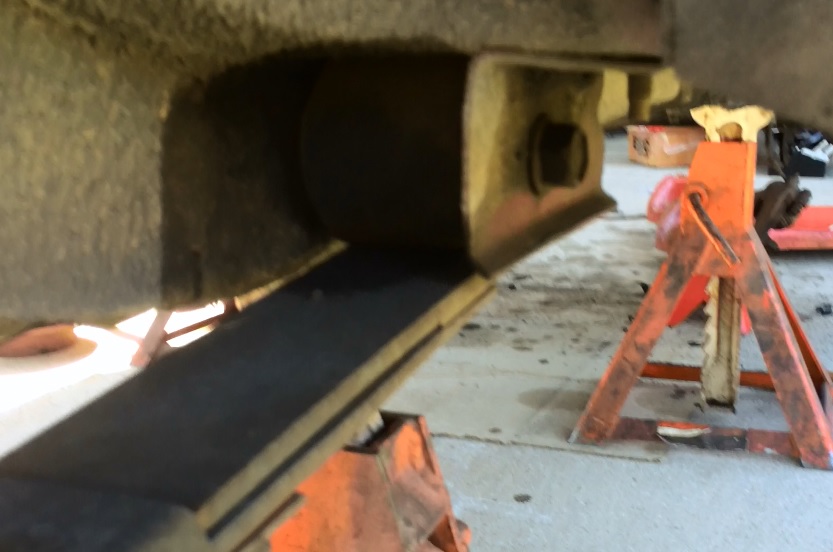
 The rear springs are held in by three 13/16” bolts, if you count both of the shackle bolts. The front bolt can be removed with an impact and an extension. They’re going to put up a hell of a fight coming out, as they are big bolts which see a lot of road grime. I only remove the upper shackle bolt in the rear of the vehicle: the lower will be a pain later.
 Unless you’ve cut and folded your rear quarters, there’s no good way to get on the upper bolt. I use a ½ drive breaker bar with a cheater bar on it. Once you get it moving, use a ½ ratchet. When your shoulders are screaming, your knuckles are bleeding and you’re going blurry eyed from exertion, you’re pretty much there.
With those two bolts out, you can remove the spring. Now comes the hard part. The bolt that holds the shackle to the spring is a real pain, even after a couple of days of constant PB Blaster. I locked off the head of the bolt in a vise and hammered on the nut with my Snap-On Impact. After many deafening minutes, it finally broke free. You’ll need this bolt to install the new shackle on the new spring.
If you look at the leaf spring, you’ll notice that the length from the eyelet to the center pin is different from one end to the other. Set the new spring next to the old one and make sure you have the long end facing the correct direction and that you’re putting the shackle at the correct end. I suggest you use some anti-seize on the bolts before reinstalling them, if and when you pull them out again, you’ll thank me. A little grease on the bushing faces will help reduce squeaking as well. Put the new spring in the rig and run the bolts down, but don’t tighten them: you don’t want the suspension bound up when not at ride height under load.
Use the floor jack to lift the rear axle back into alignment under the spring center pins. For this operation, an extra set of hands is ideal. I found the center pins didn’t want to sit into the hole in the spring perch because my perches were rusted and filled with dirt. Once I cleaned them out with a Dremel and polished the edge of the hole, they centered well.
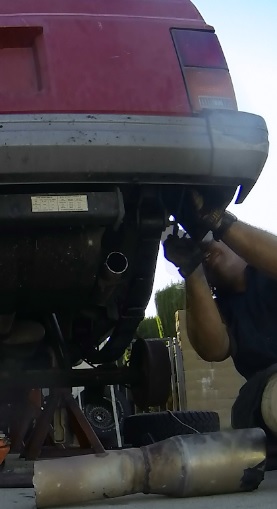
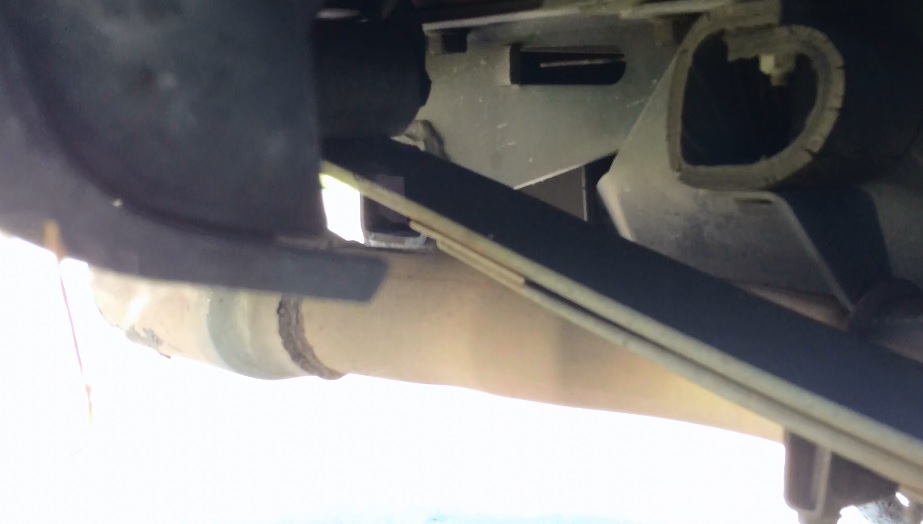
 I started the U-bolts and drove them down evenly, moving from one nut to the other after just a few turns to let them pull the pin into alignment smoothly. Once they’re all seated, set the torque on these nuts. I had to trim off the end of my exhaust to allow the rear passenger shackle to clear, which is a common problem with the XJ. The lower shackle bolt still hits my exhaust.
Install the new shocks, then lift the rig up and move the jack stands under the axle. Once you have the vehicle resting on its own weight, torque the spring bolts down. Reinstall the tires and drop the rig back down on the ground.
I removed the rear sway bar as I’ve never felt the XJ needed one and the stock one it came with was completely pathetic. It only causes binding in the suspension and gets in the way. I’ve towed with a lifted XJ that didn’t have a rear sway bar and it was fine, though I wouldn’t consider driving an XJ on the street that didn’t have a front sway bar hooked up.
Since we’re using the stock NP242 transfer case and not installing a slip yoke eliminator (SYE) or a new rear drive shaft, I needed to install the transfer case drop kit that’s provided. It comes with four spacers and four bolts. The XJ comes with two studs and two bolts and I was able to install the kit without removing the crossmember. I supported the transmission using a wide block of wood under the pan and lifted until I could see the transmission mount relax. Then I removed the two bolts.
If you have a stud remover, you can use that, though I’ve tack welded the nut on before or hit the threads on the bolt to get the nut to bind. One stud came out with the nut and I used a pair of vice grips to remove the other stud. After using a pry bar to line up the holes, I installed the spacers with the new bolts. So far, I haven’t noticed any drive line vibrations.
Odds & Ends
Double check all the bolts. Now that you are sweaty, dirty, bloody and smiling ear to ear it’s time to stand back to admire your lifted XJ and go drive it. After about 100 miles check every bolt touched during the installation to ensure they’re all torqued properly and check periodically after that. Your alignment might also need a checkup or professional adjustment, if you desire.
The next installments will look at some additional parts that will take this kit from fire road cooker to rock crawling monkey. Axles, armor and tires coming soon.
Be sure to check out 4WD for all your XJ Jeep parts needs.
