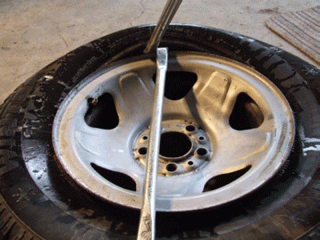
This is the “ultimate in tire repair with hand tools.” You’d have to perform this task if your tire is completely shredded, or the repair you have to perform is major and cannot be done by breaking and removing one side of the tire from the rim. What I like about this task is that once you’ve mastered it, everything else with tires is easy sailing.
[Not a valid template]Note: A video explaining this entire process can be viewed on the last page of this article
SAFETY:
• All of the field repairs are temporary and need to be looked at by a tire shop on your return to civilization
• Use your spare tire as your initial replacement
• Major repairs should be made, when possible, to the now damaged spare tire
• All repairs should be done after securing your vehicle and in a safe environment
TOOLS: Tyrepliers, Deluxe Tire Iron, Standard Tire Iron, Mallet, 4-Way Valve Tool, Lubricant, and Compressor Air Chuck.
REMOVING THE TIRE
Breaking the Front Bead – Remove the valve core using the 4-Way Valve Tool. Use the Tyrepliers to break the bead all the way around the rim (see valve stem replacement clinic for info).
Breaking the Back Bead – Turn the tire over to expose the back of the tire. Repeat the procedure you used to break the front bead. The tire should now be loosely sitting on the inside of the rim.
Removing the tire from the rim – Both sides of the tire should be removed over the front of the rim. The front of the rim has a smaller shoulder to get the tire over in comparison to the shoulder at the back of the tire (see rim terminology picture).
