Being able to charge electronic devices in our 2005 Jeep Wrangler Unlimited has always been a pain, requiring a USB adaptor in the power port for charging cables. Often, when we would need to charge something, the adaptor had apparently been hidden by gremlins. The time had come to fix this situation.
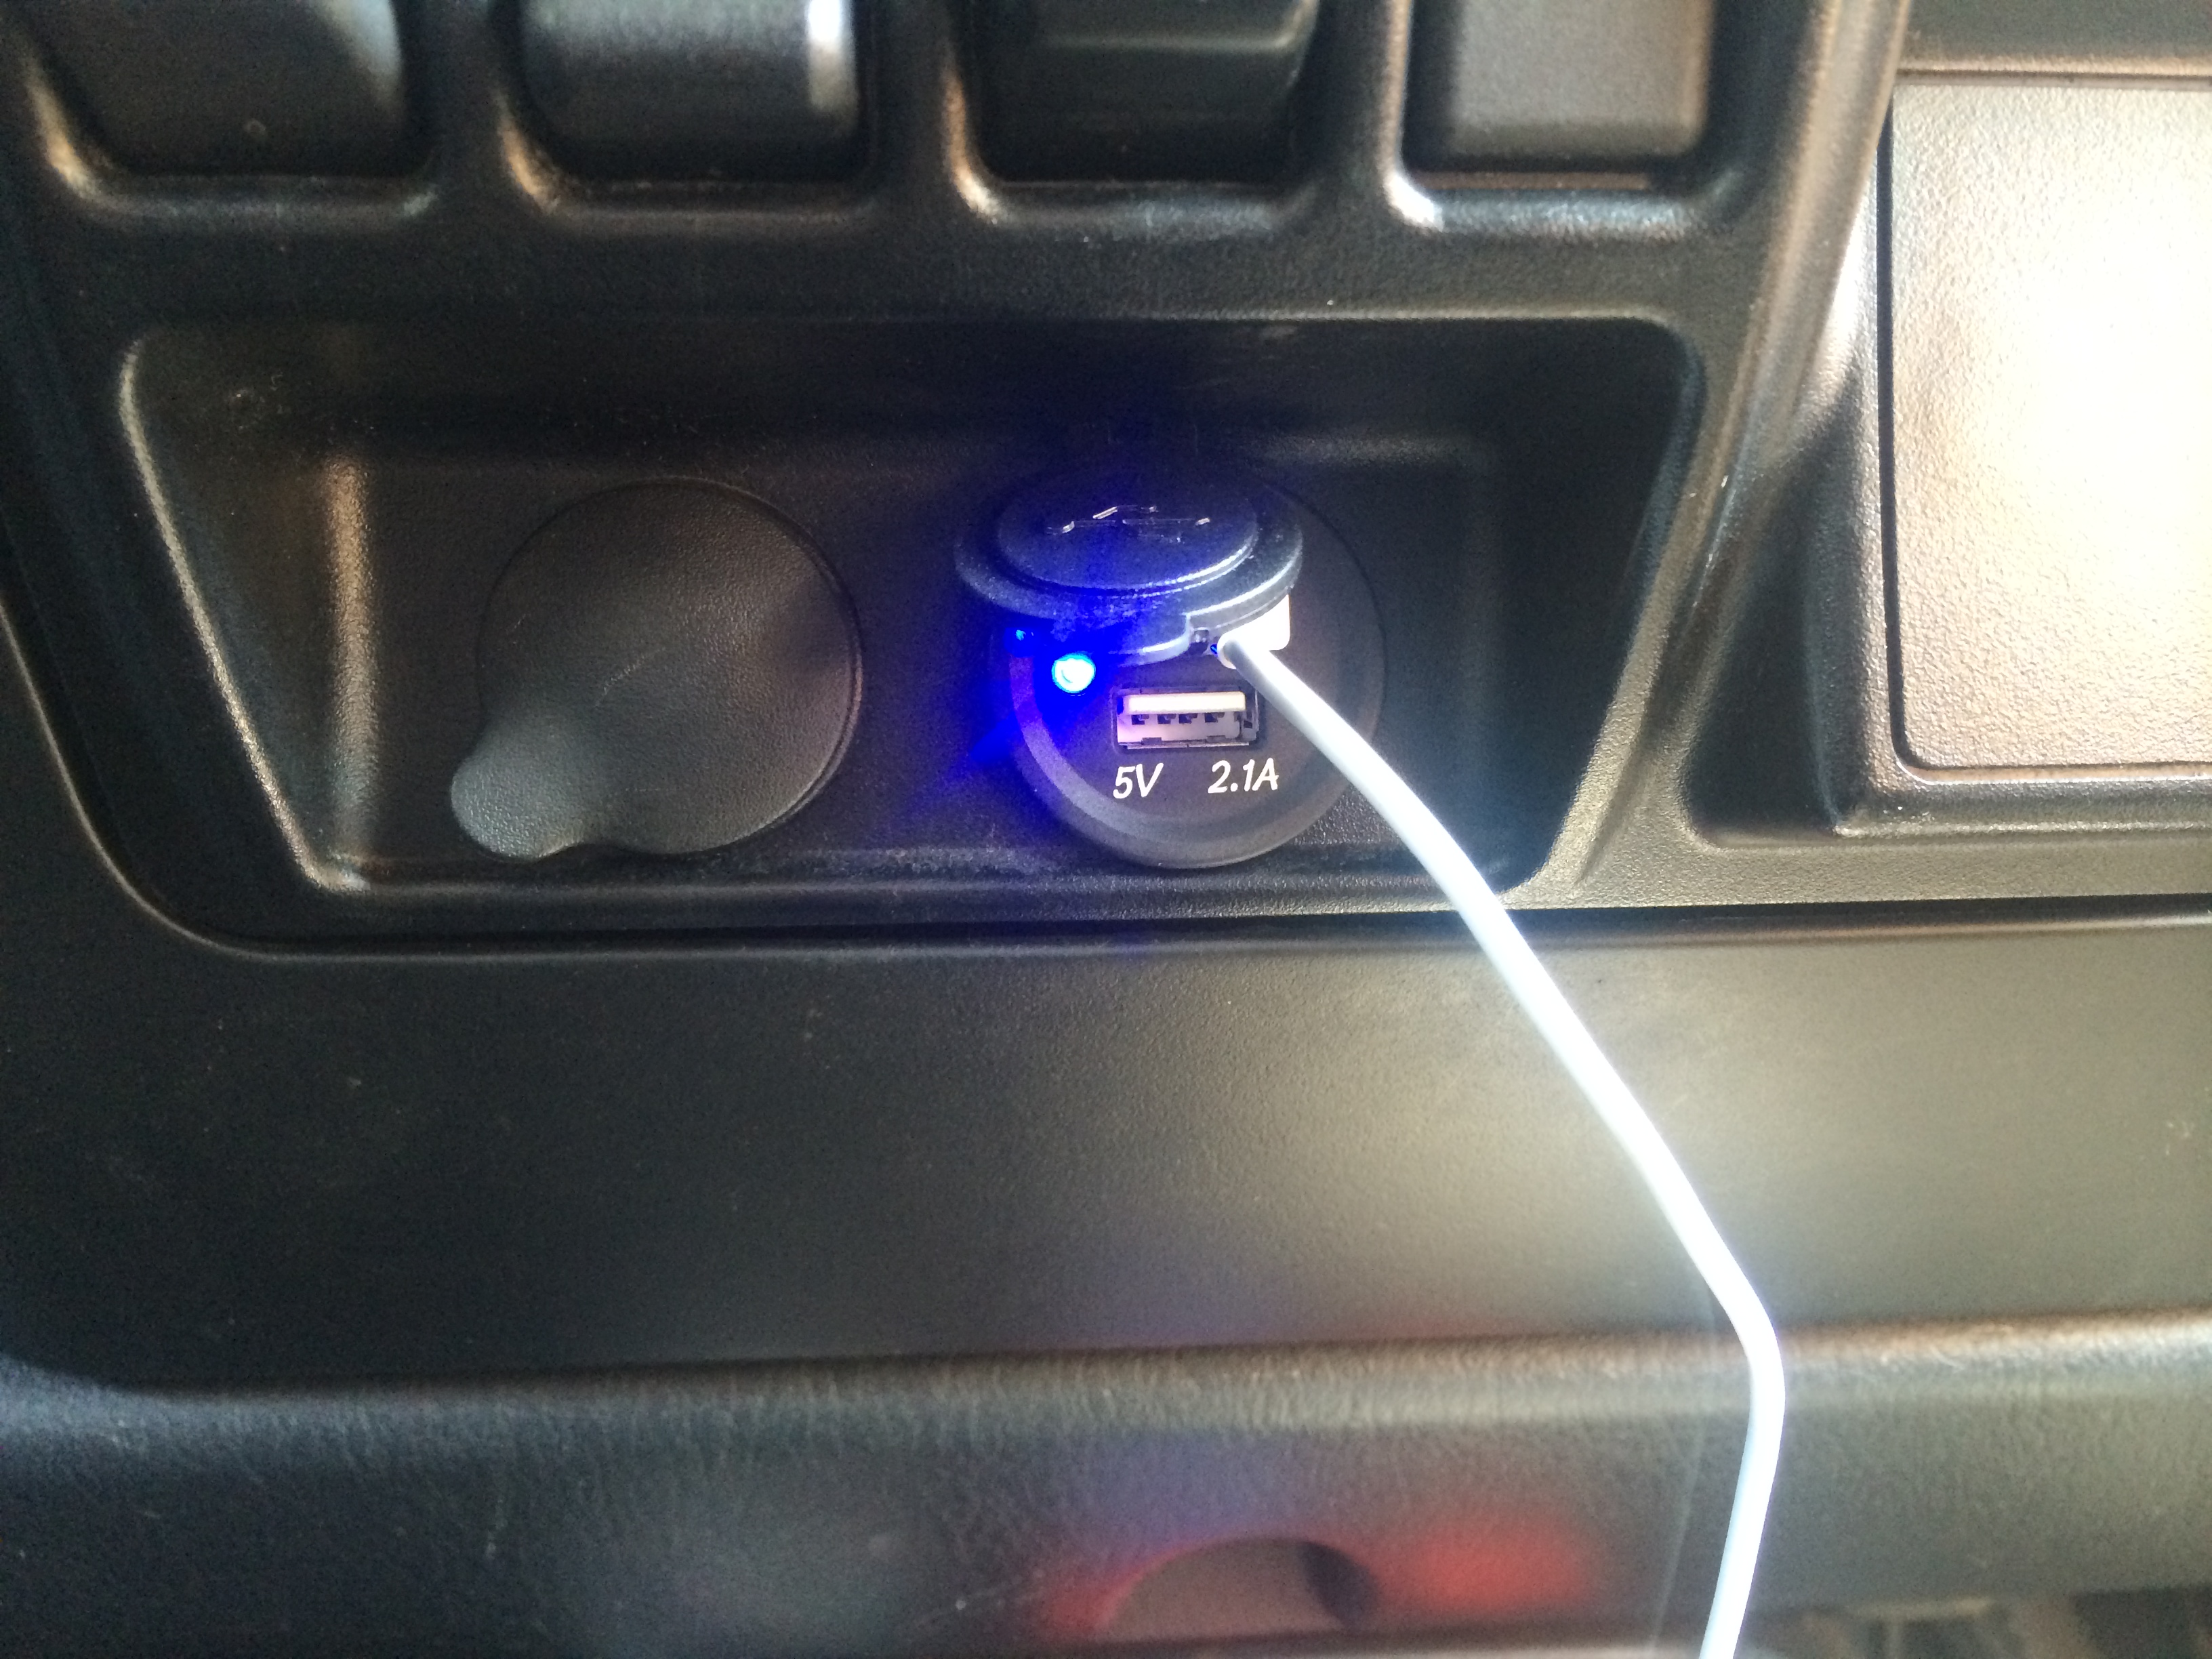
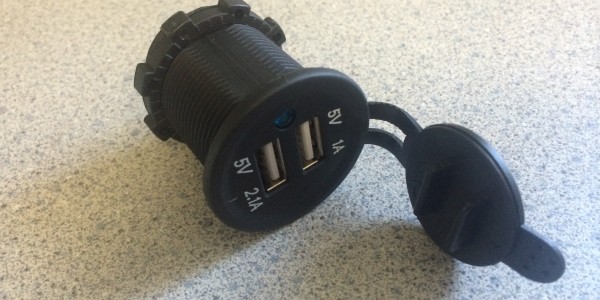
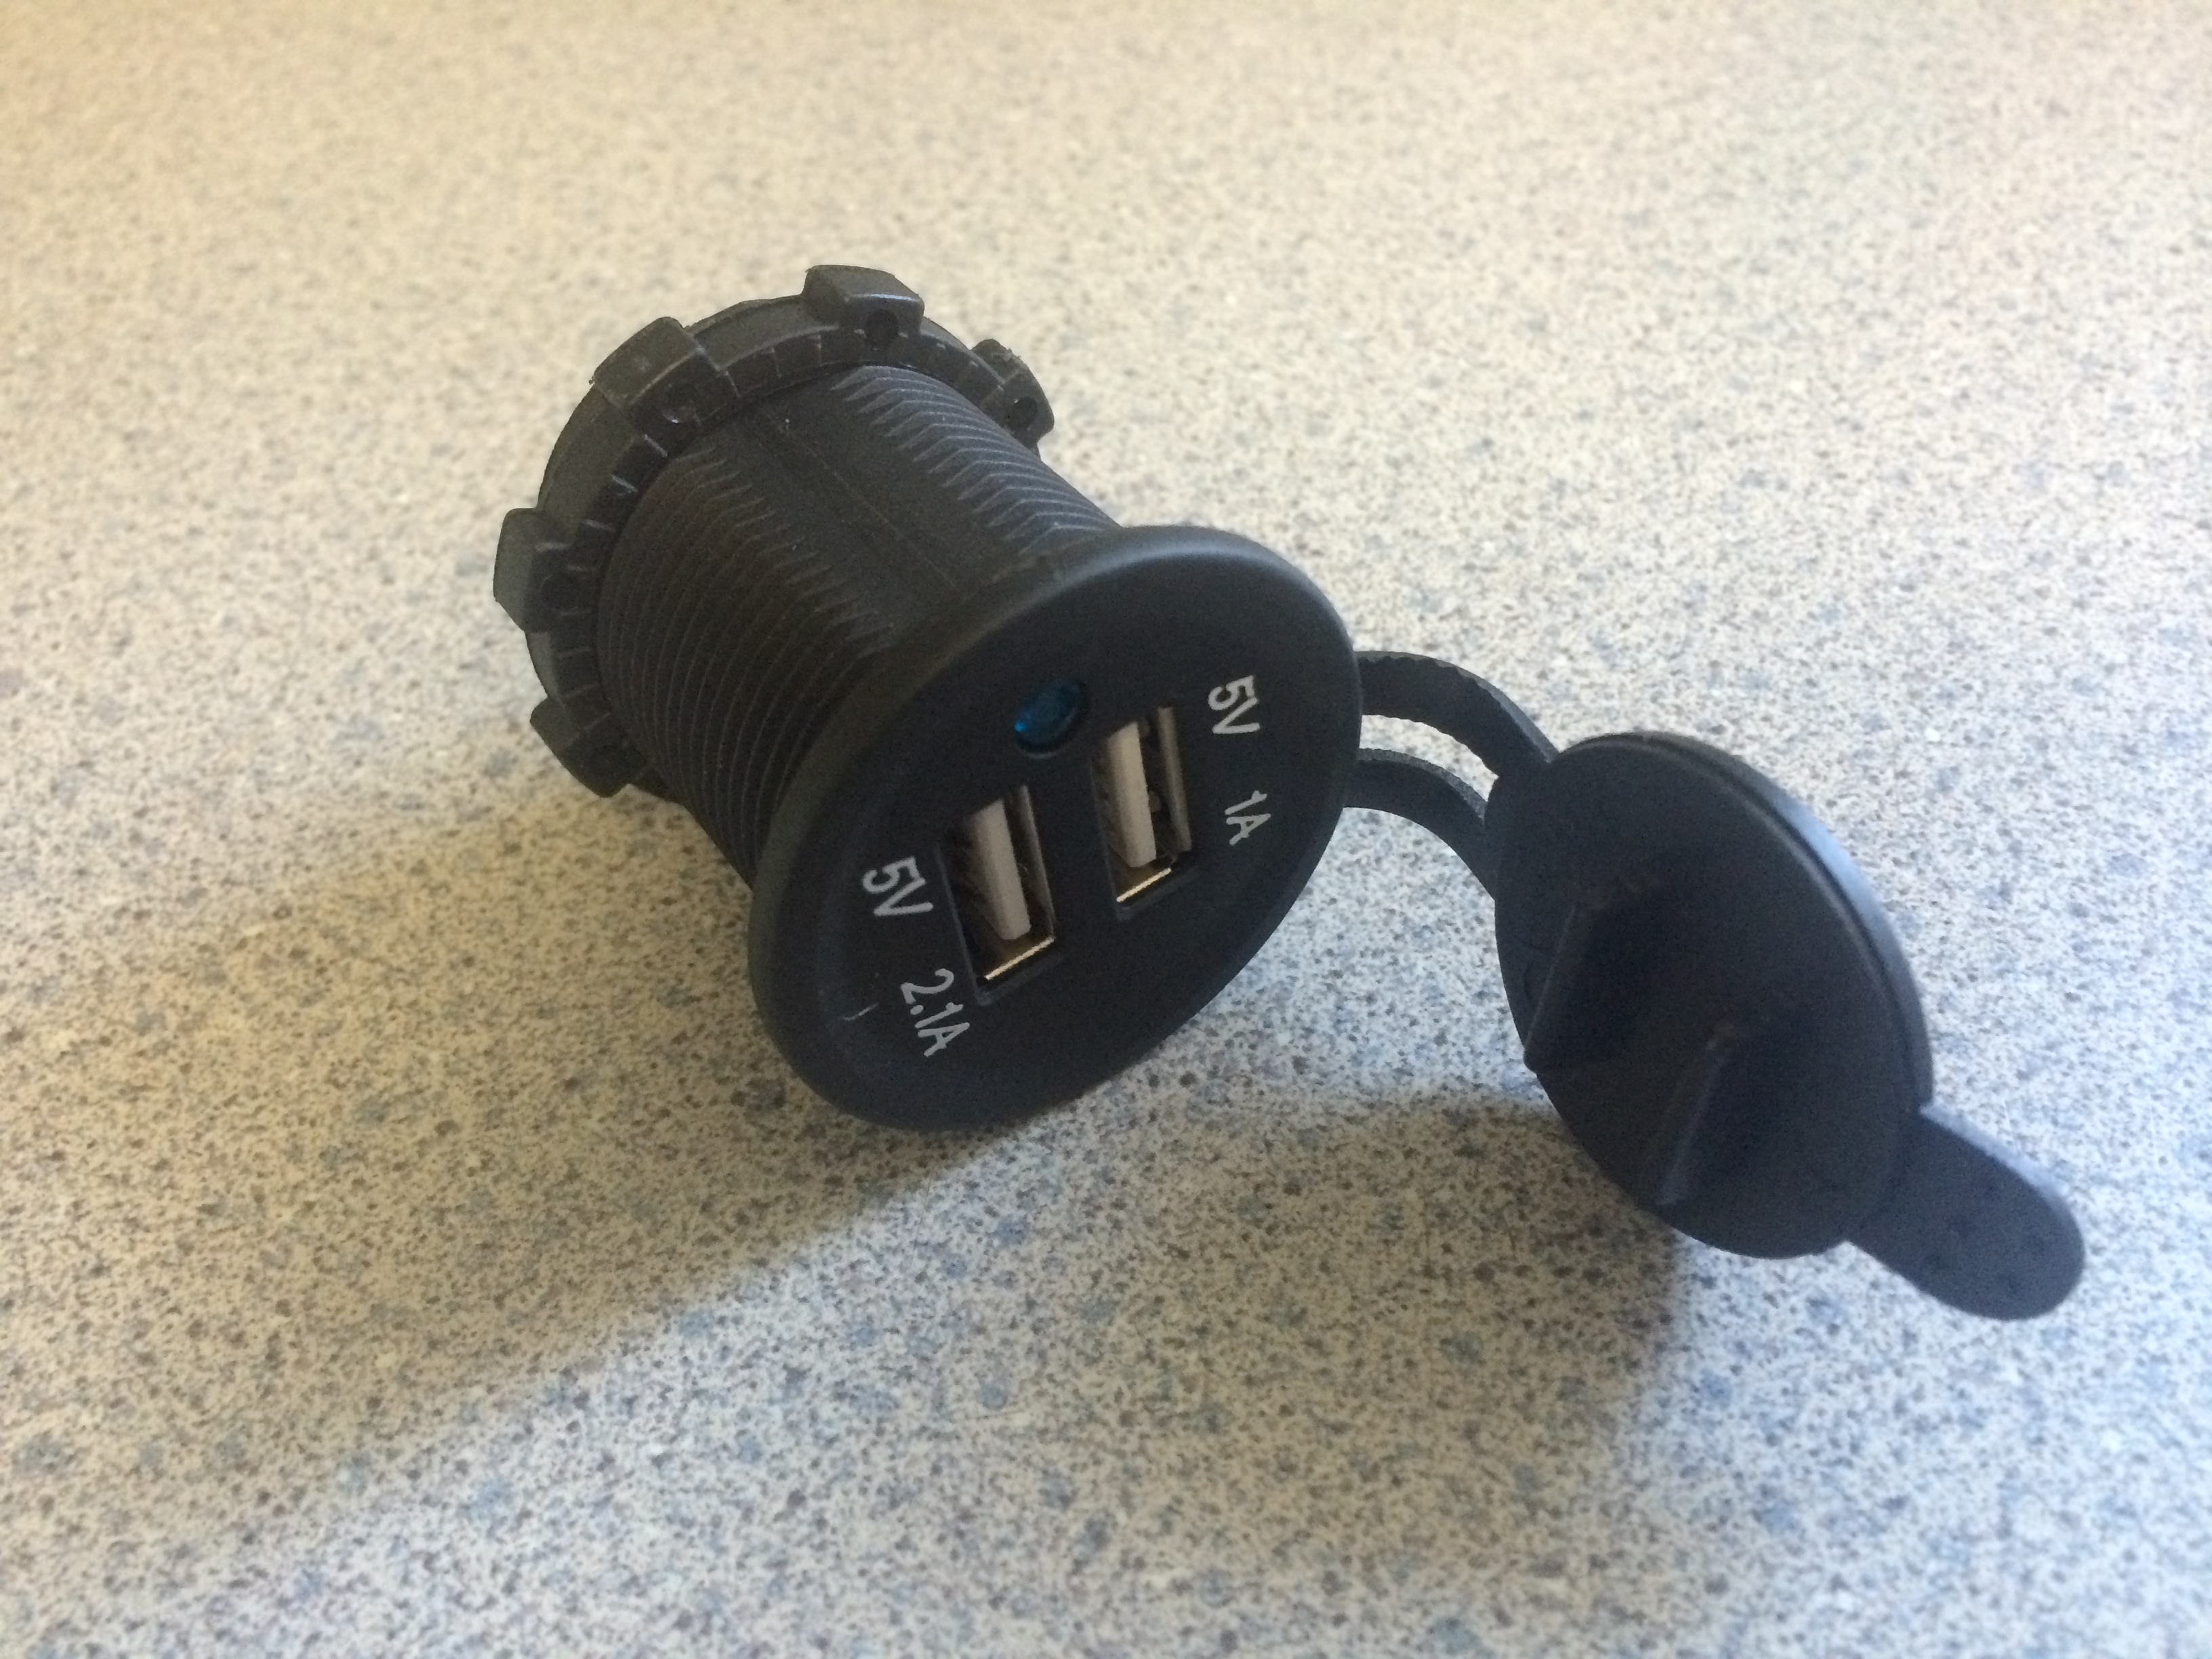
We found this dual USB power port on eBay. One port puts out 1 amp, while the other puts out 2.1 amps, both are the typical five volts. While we wouldn’t test it on purpose, the seller claimed that it is water resistant, perfect for a Jeep. Total install time is roughly 20 minutes to 1 hour, depending on how you decide to wire it in and your comfort level with electrical work.
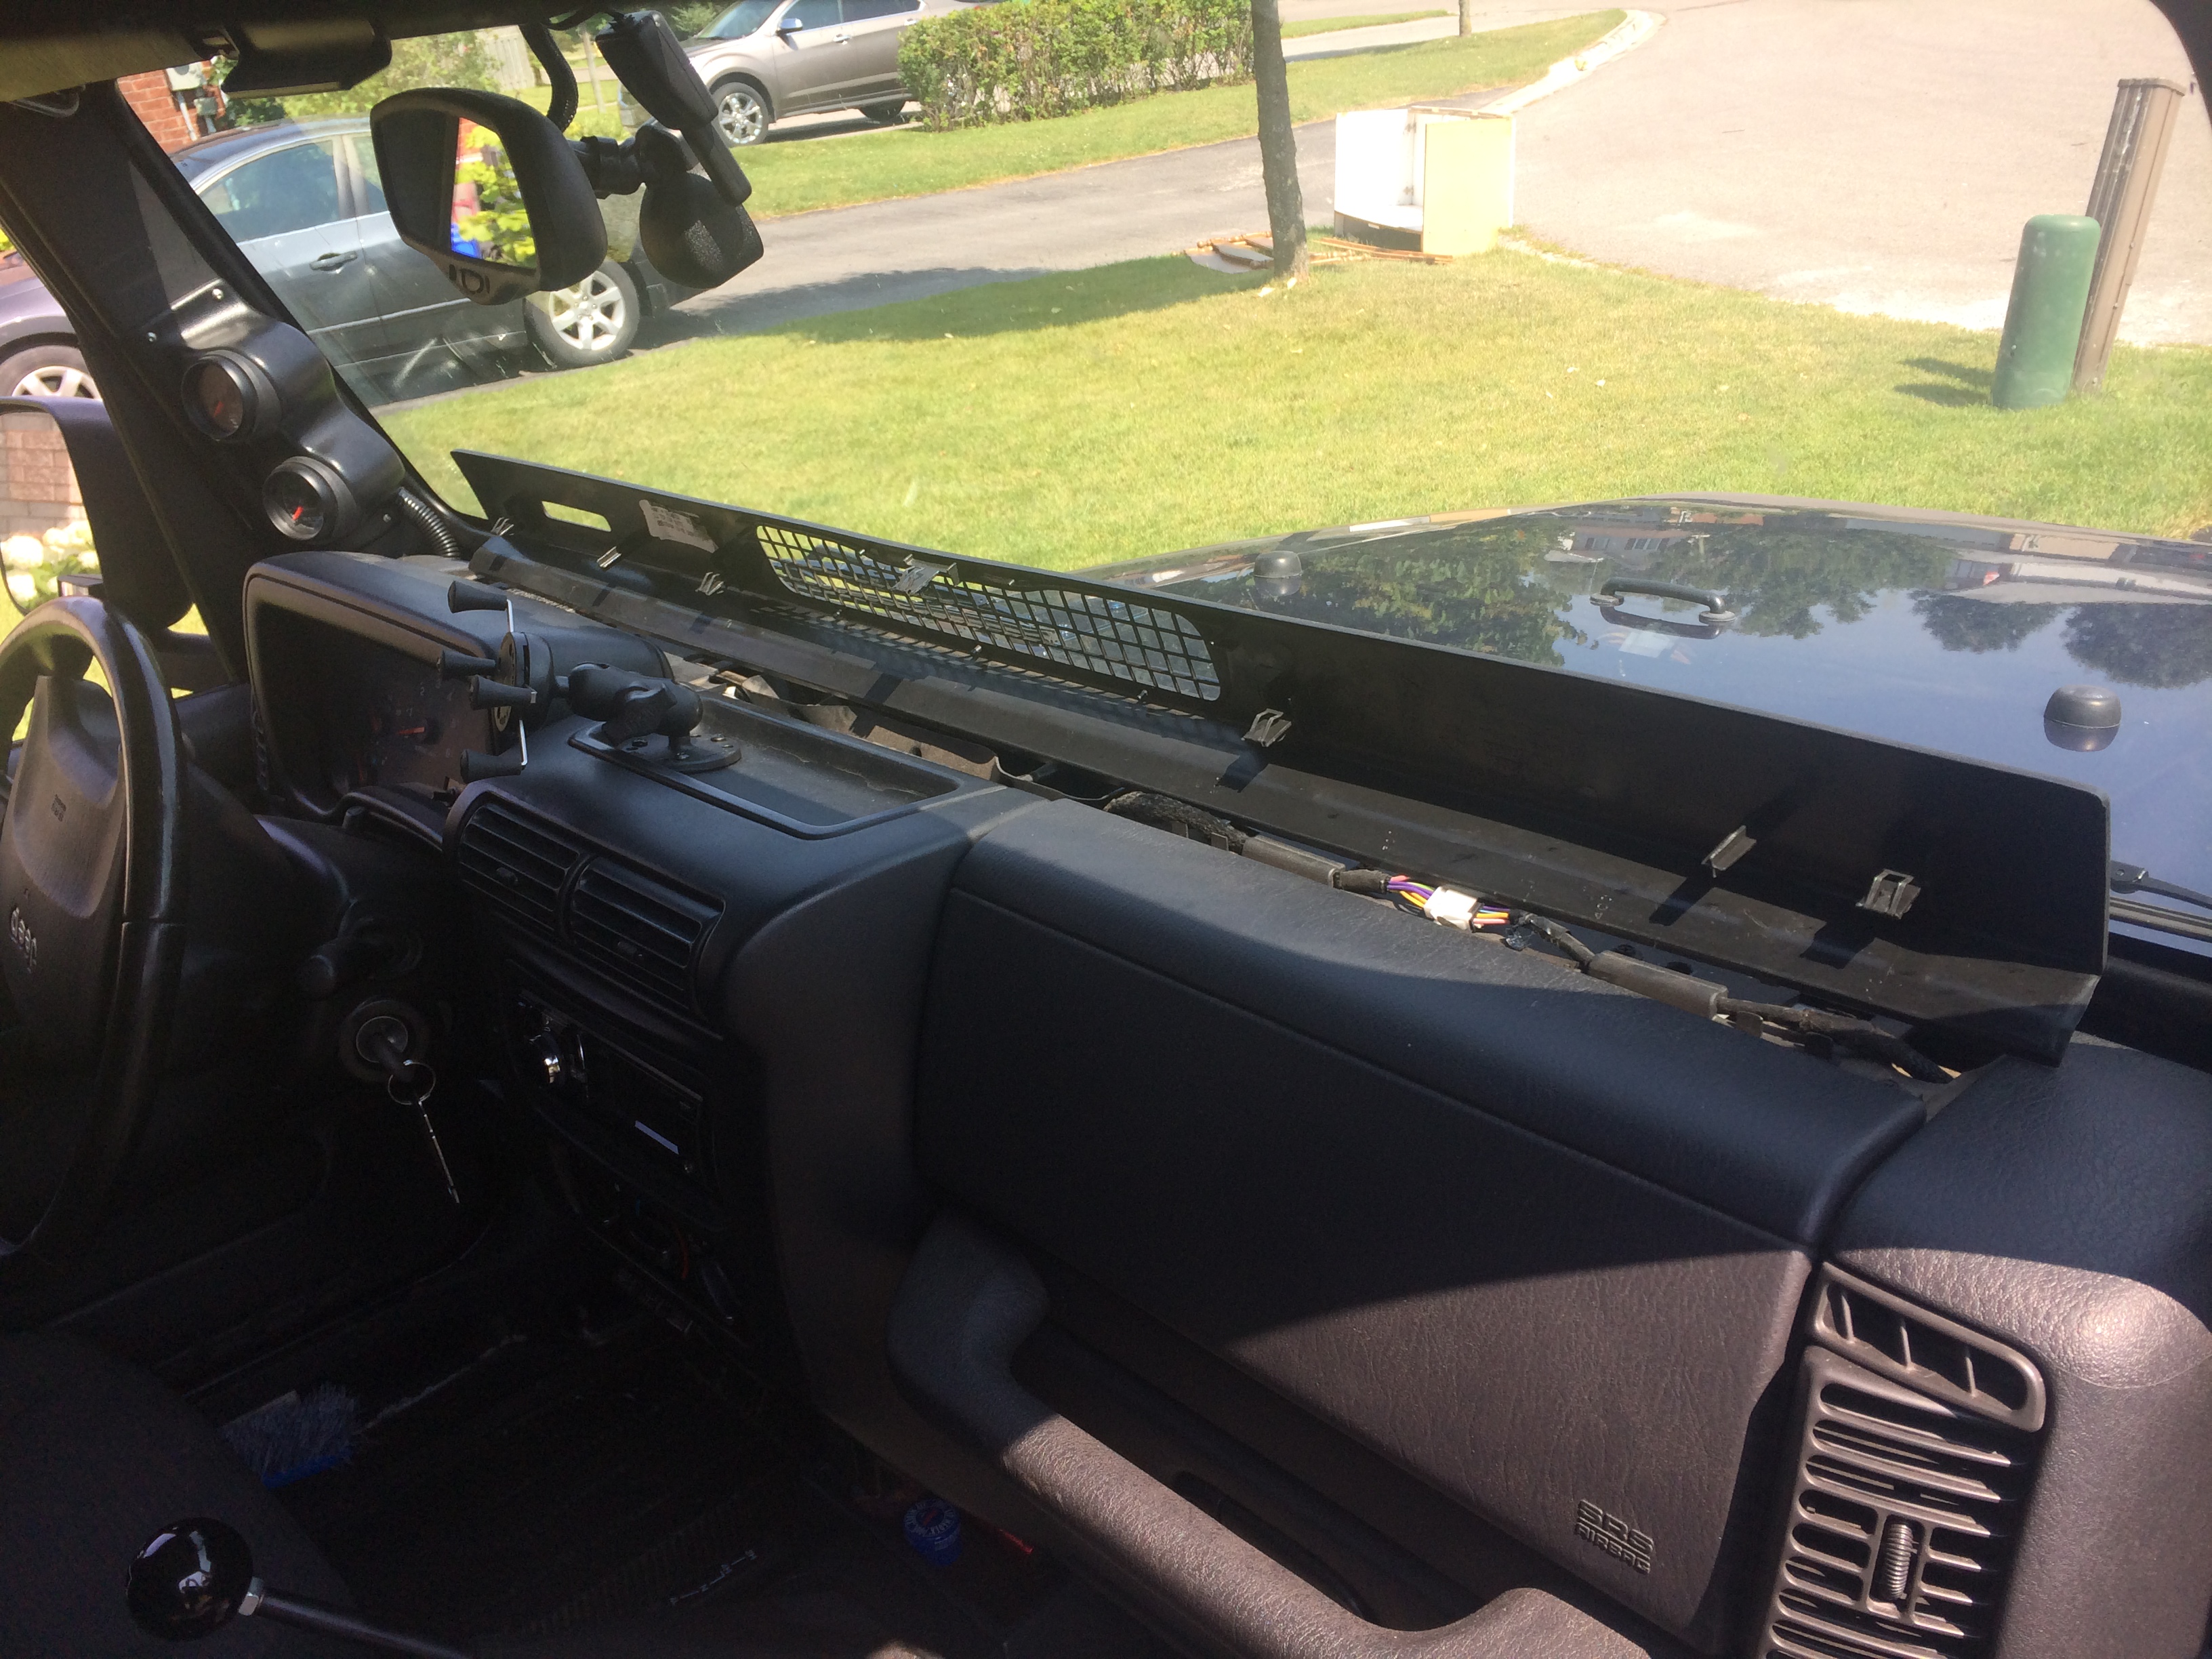
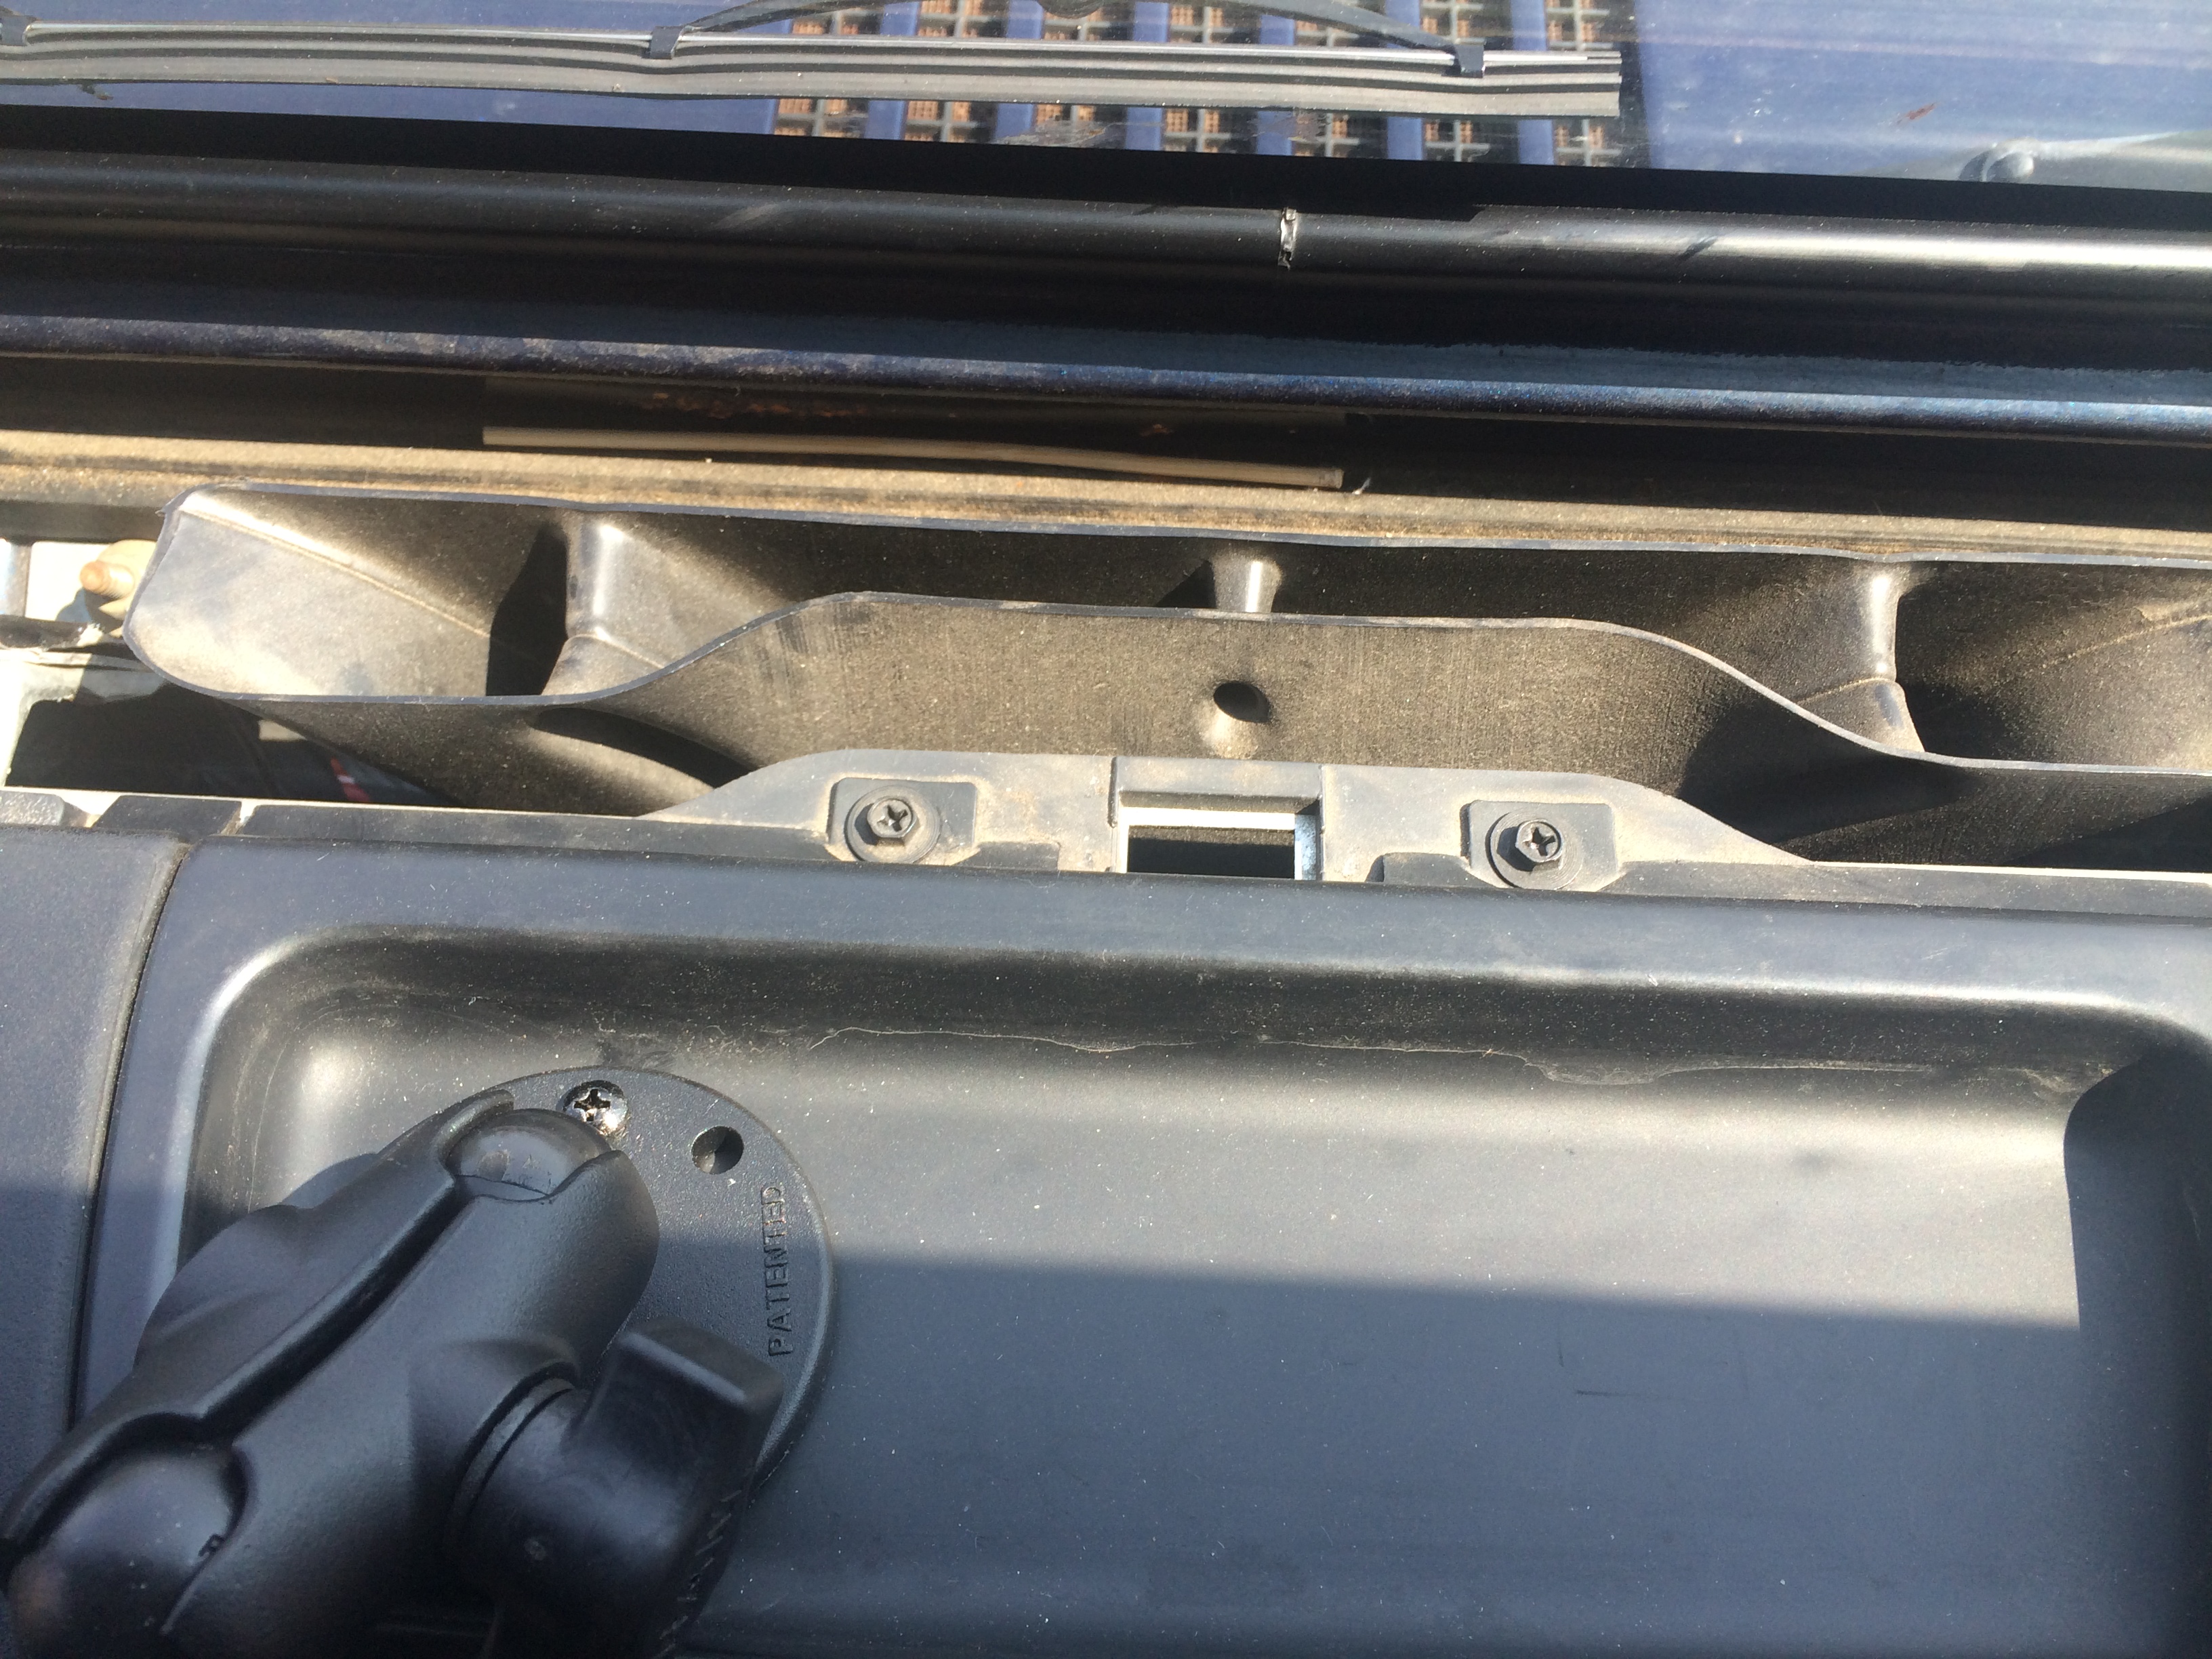
The first step is to remove the defroster trim panel immediately below the windshield. It’s held in place with three clips. All you have to do is gently pull the panel toward you and up. The clips will release and the panel will come out easily.
The main center dash panel is next. To remove it, first you need to remove two Phillips screws that are located at the top, near the defroster duct.
Once those screws are removed, the center dash panel can be pulled out gently. There are four retaining clips that hold the center dash panel in, one on each side of the stereo and one on each side near the bottom. Working two at a time, pull back on the top of the panel to release the top two clips. Once they are free, open the glove box and pull the bottom of the panel loose. 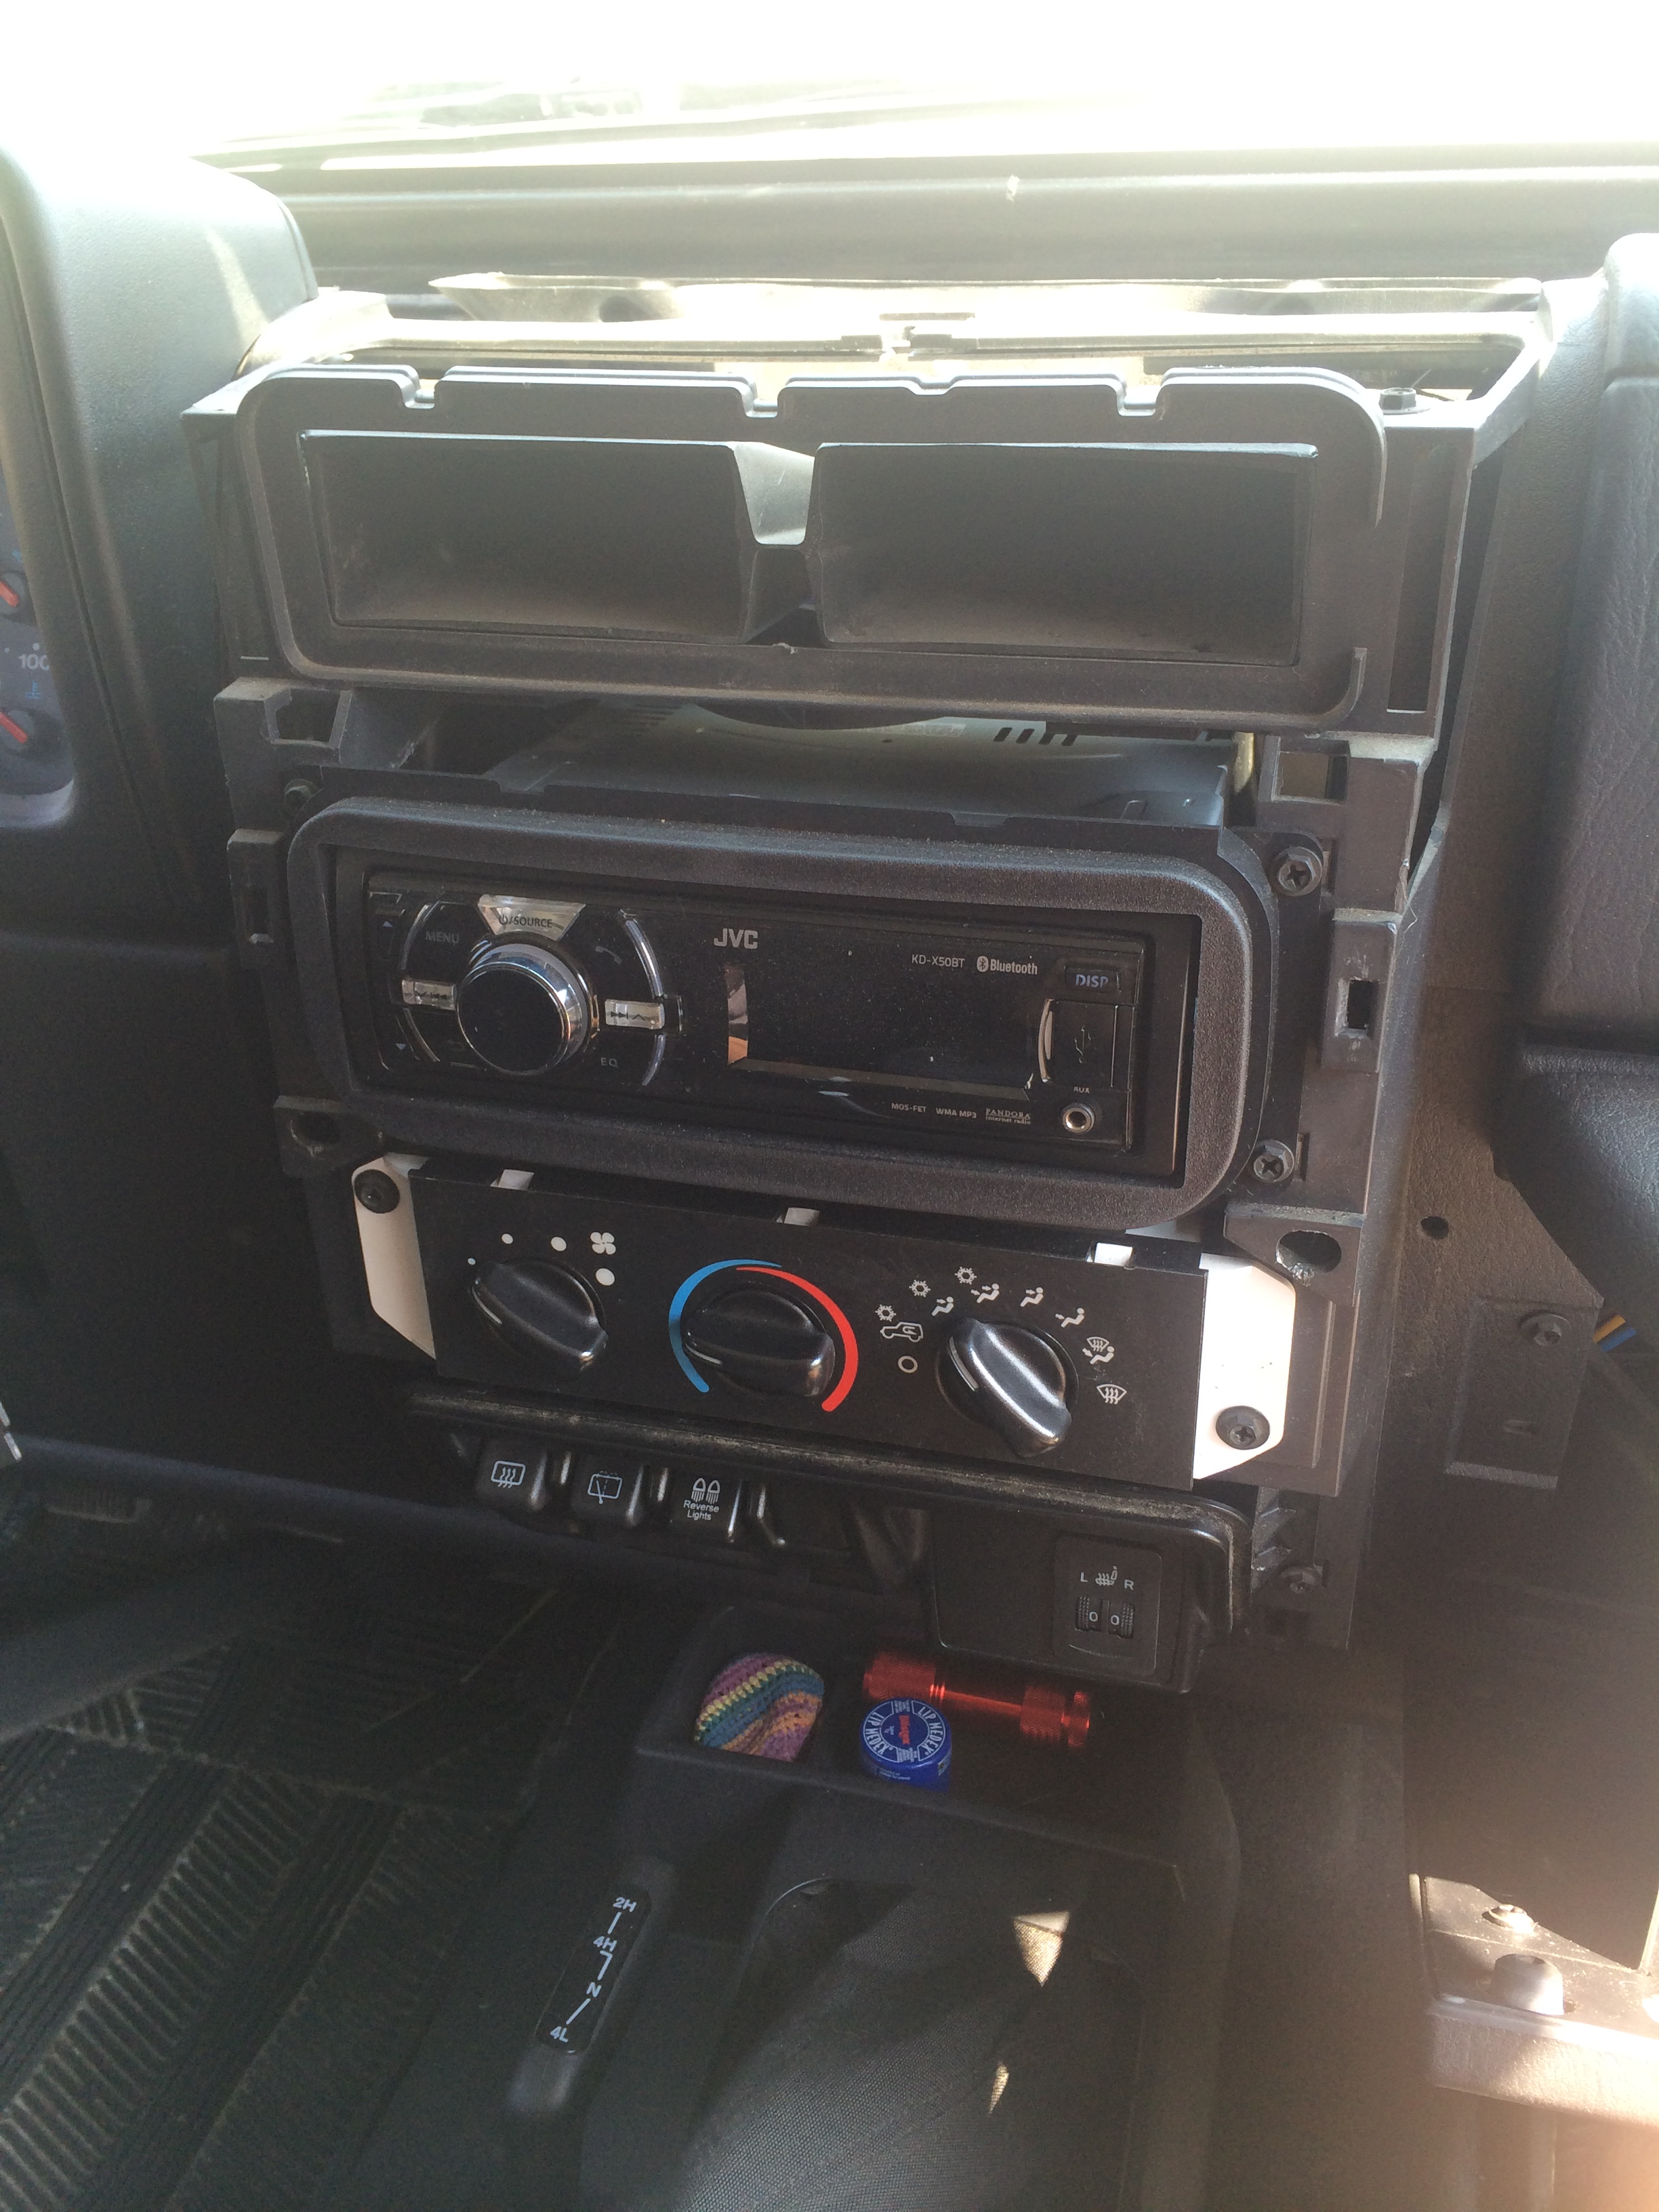
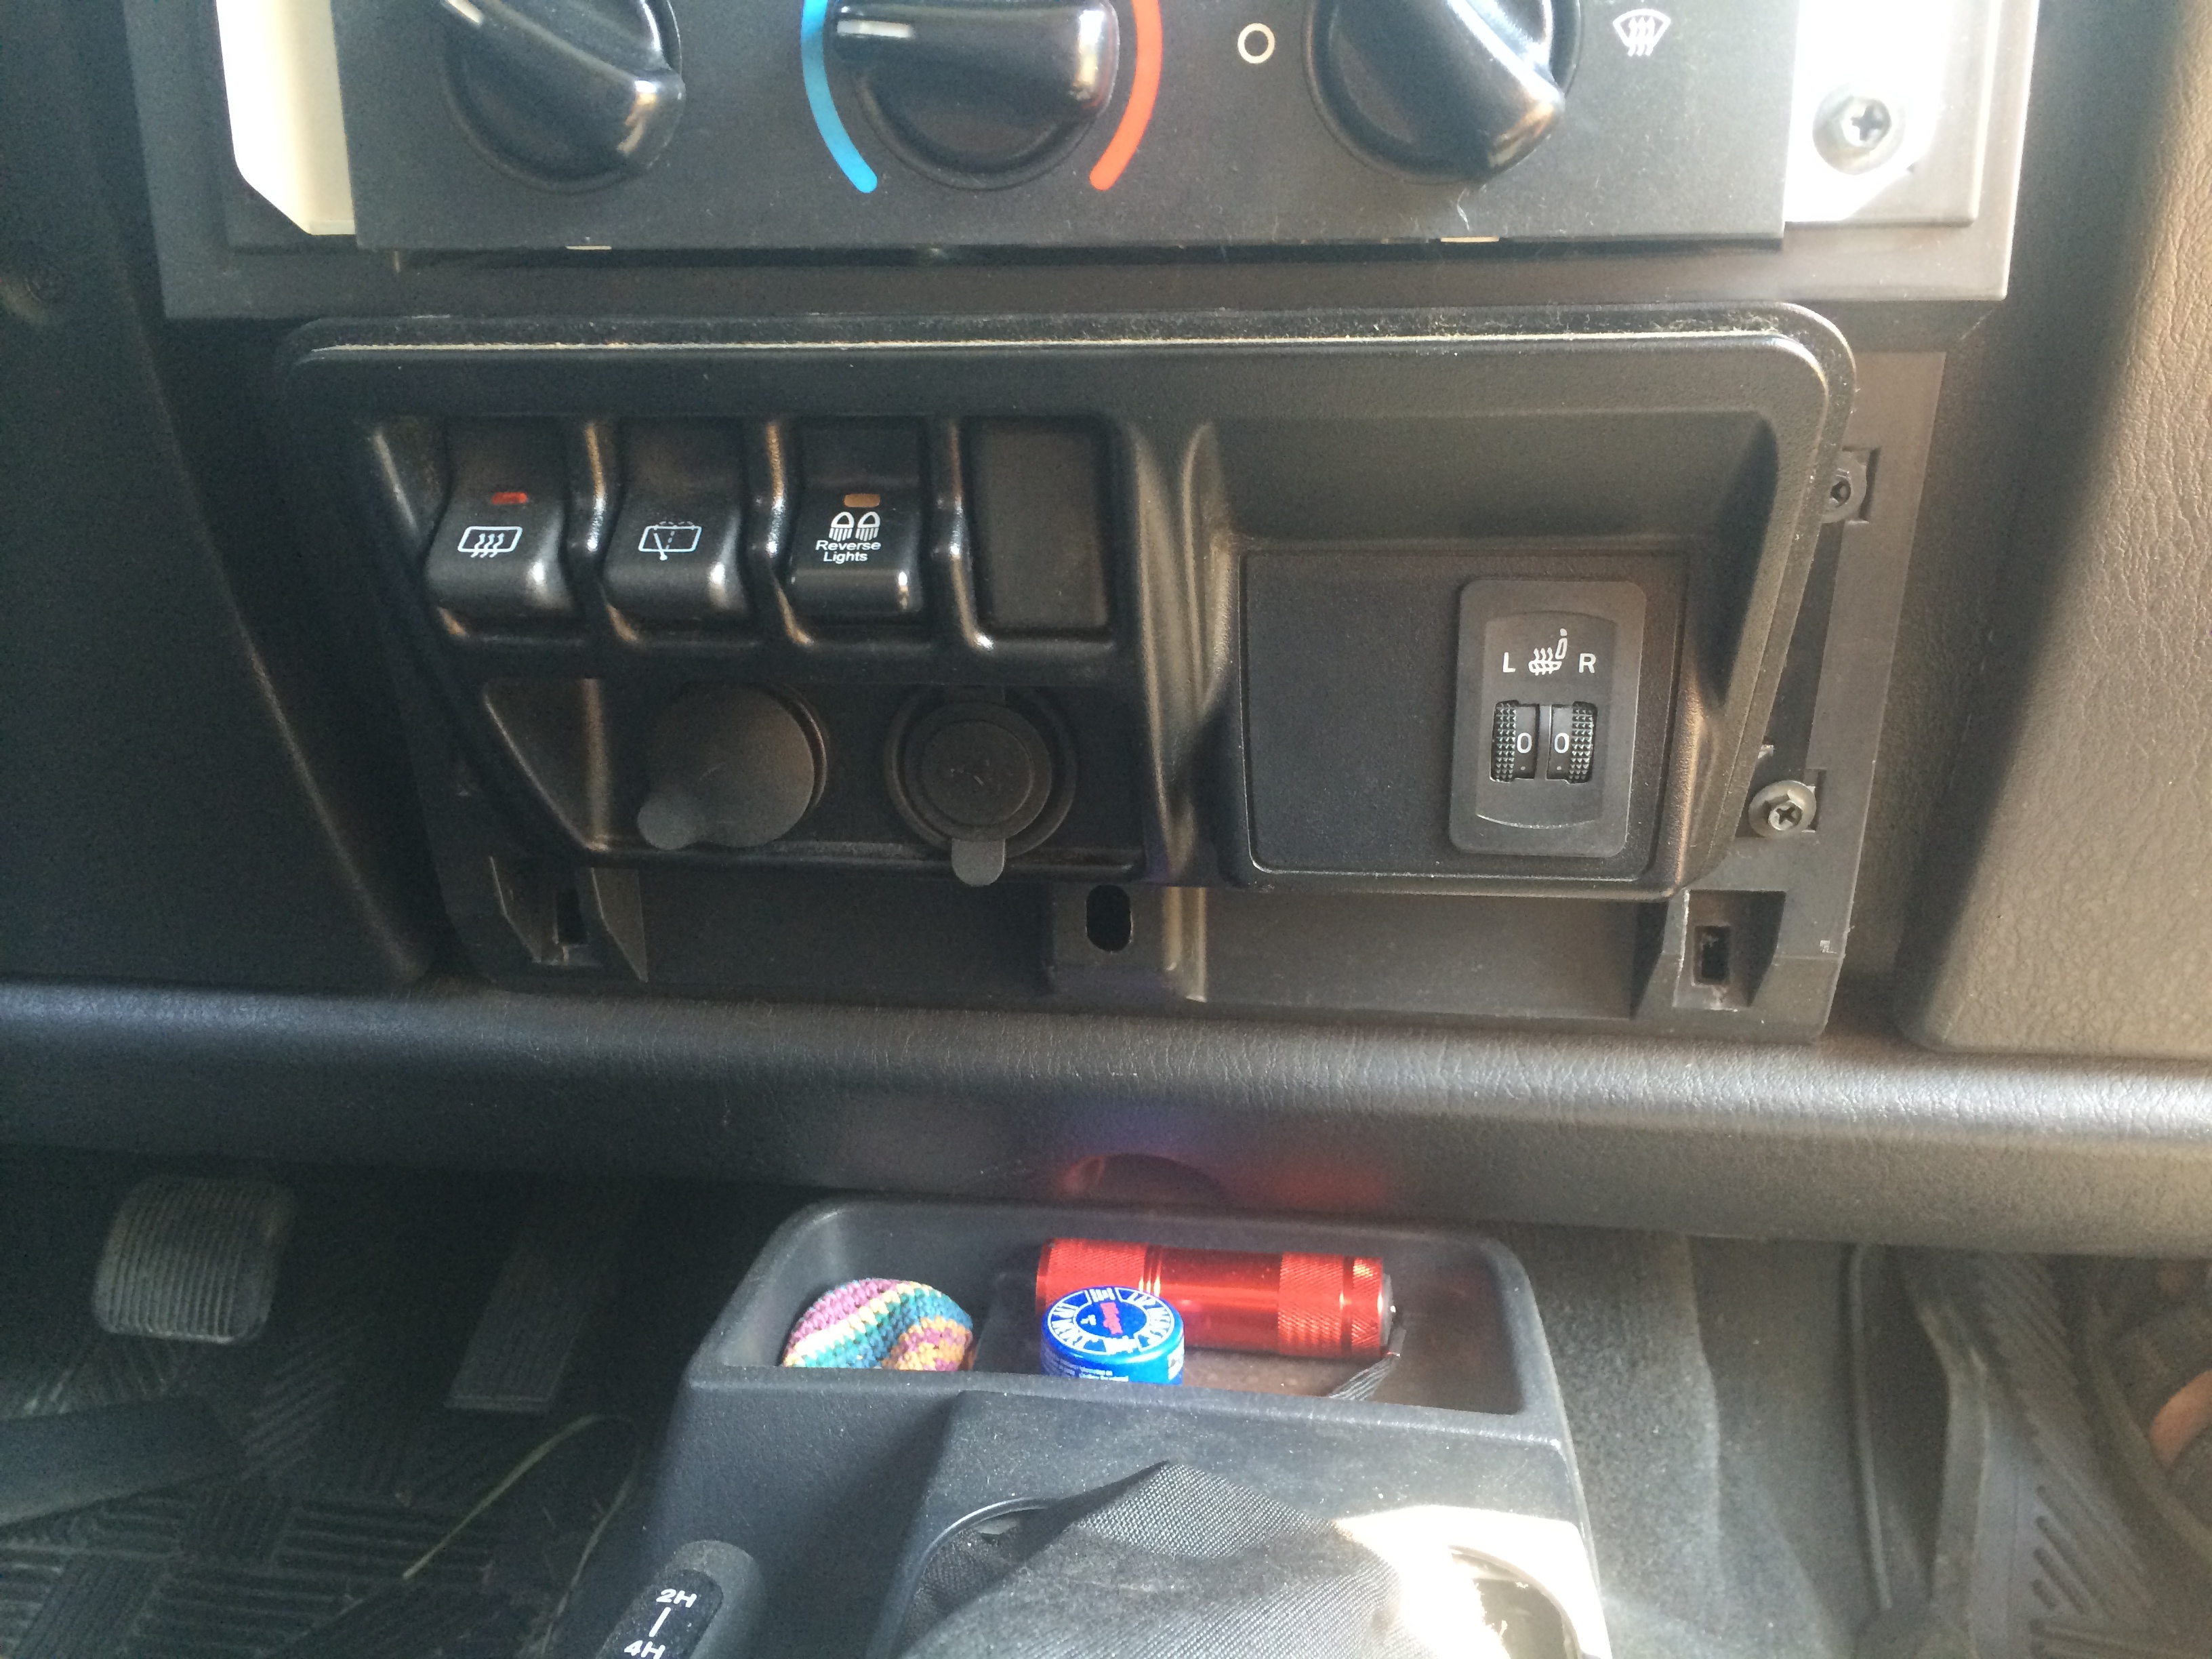
The lower panel with the power ports is held in place with four Phillips screws. Remove these and the panel will come out easily.
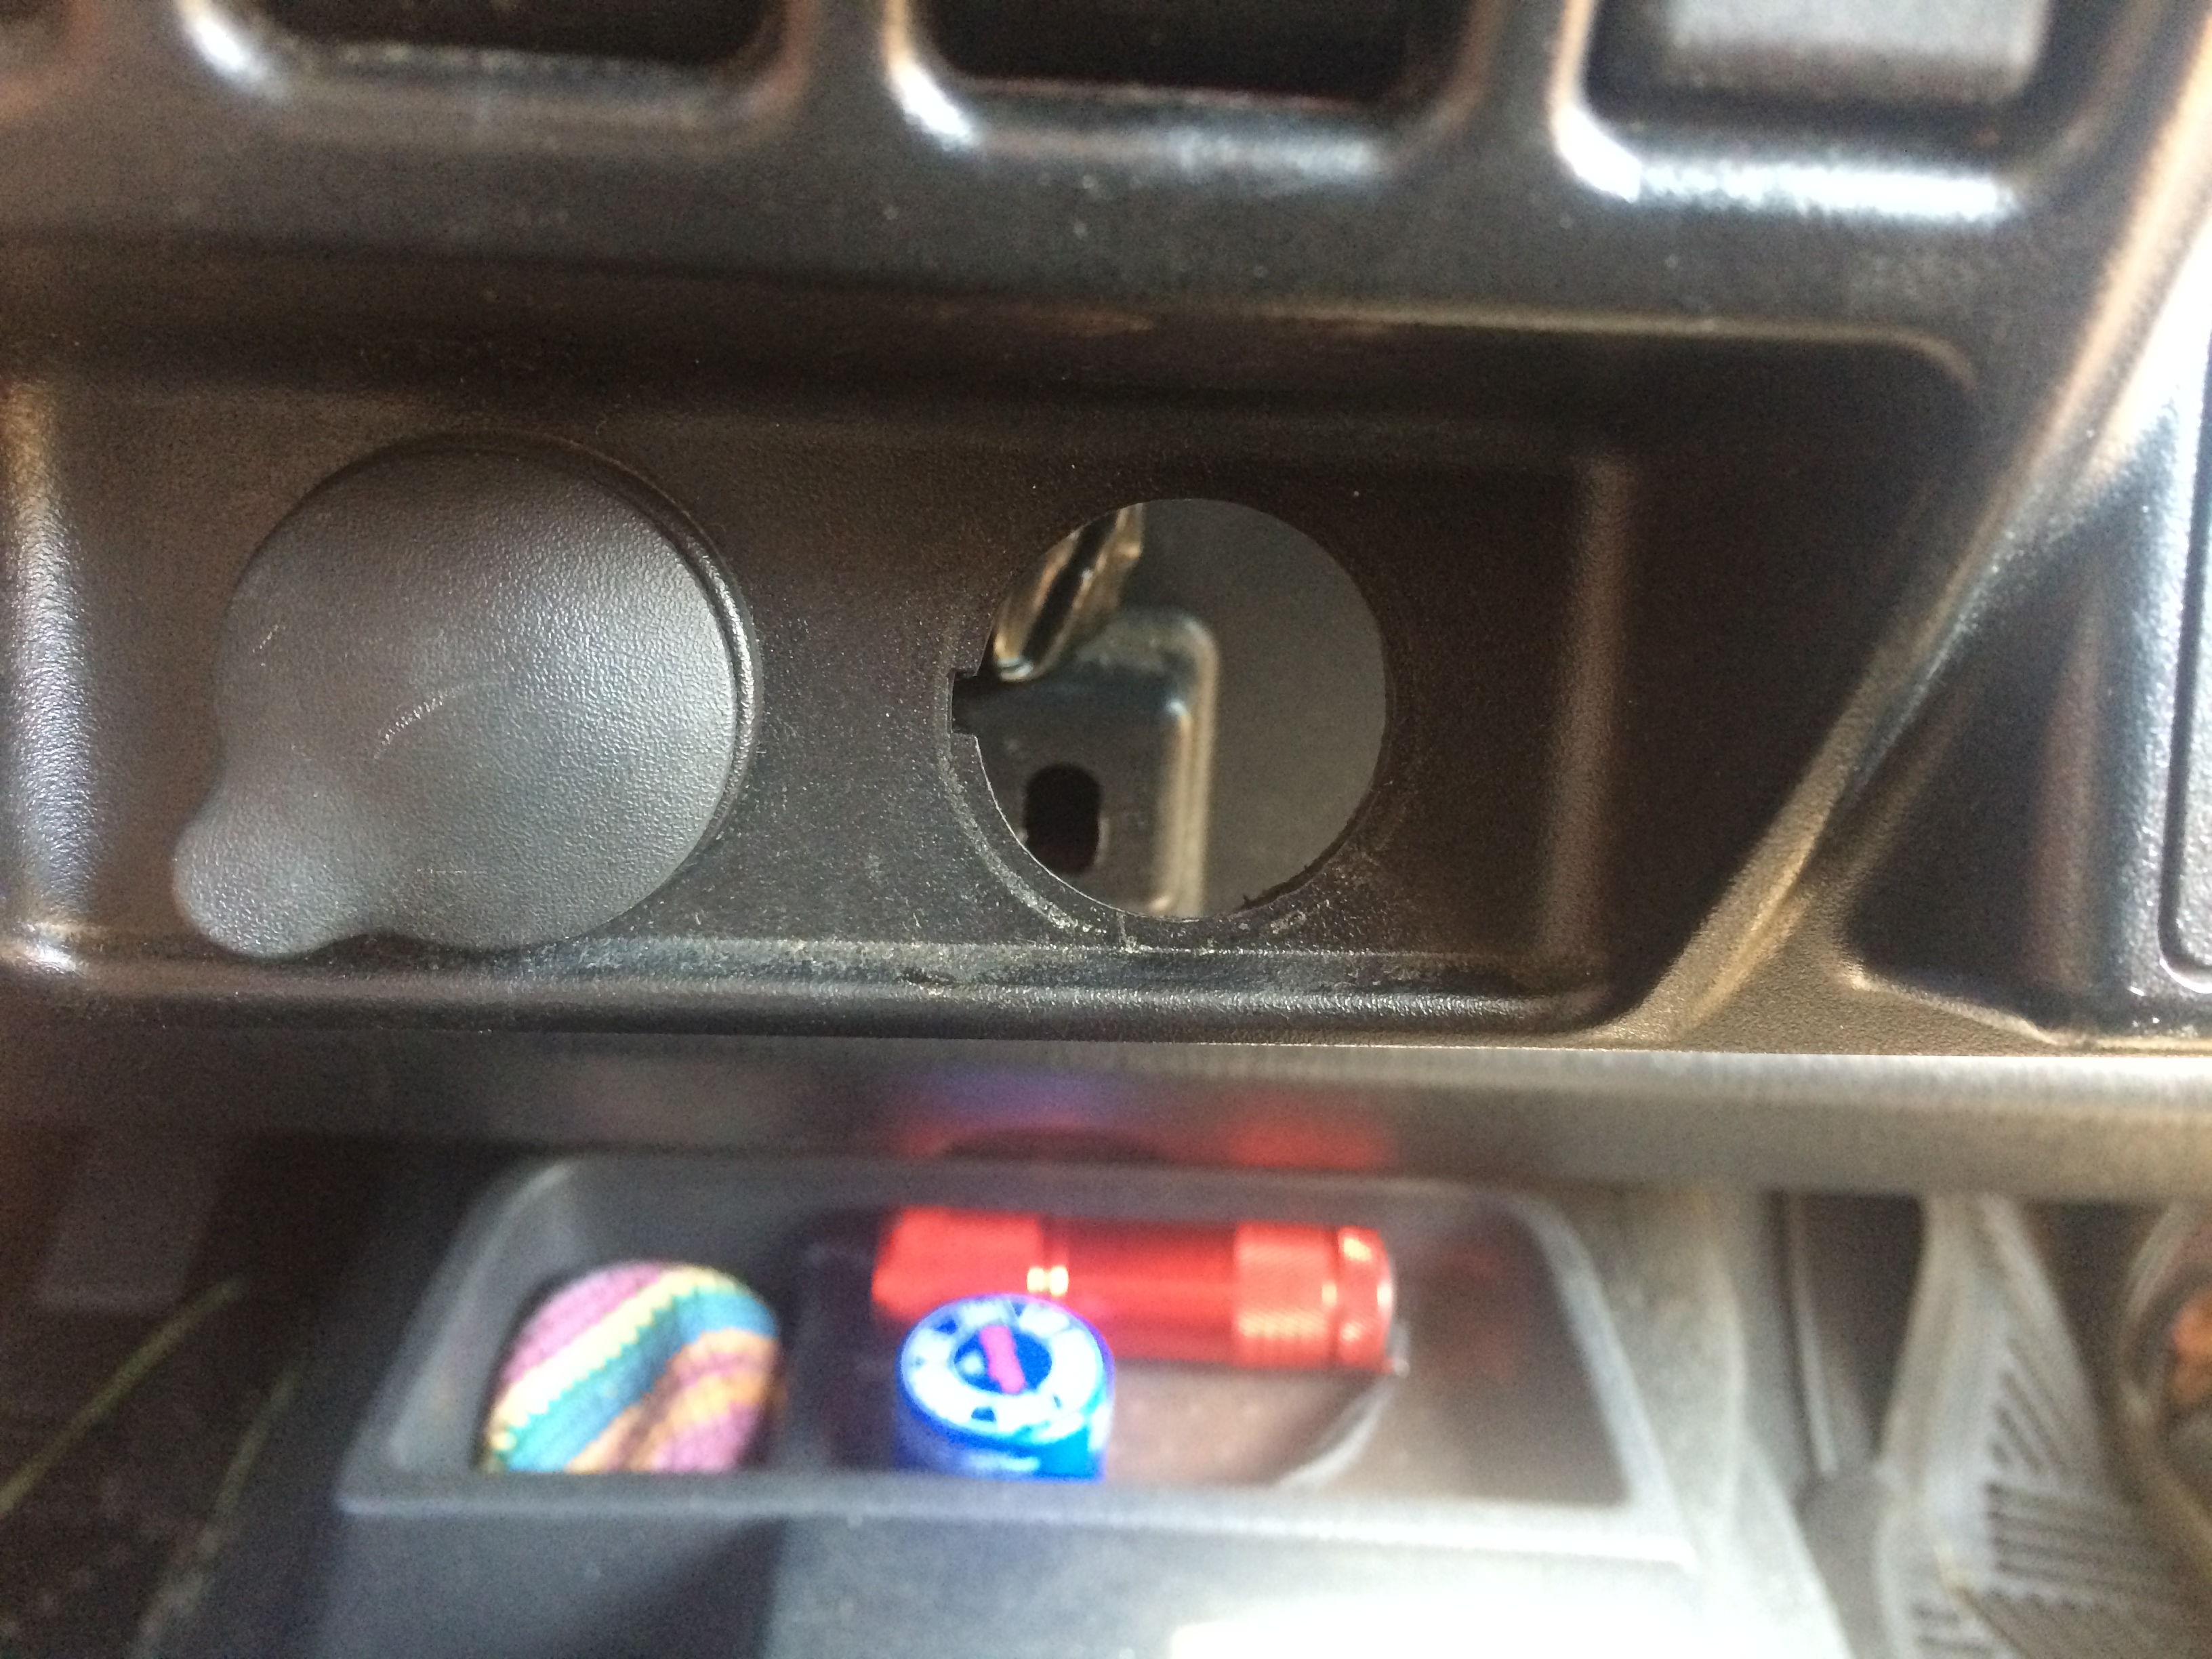
Remove the fuse for the power port (on the right) for safety and cut the two wires.
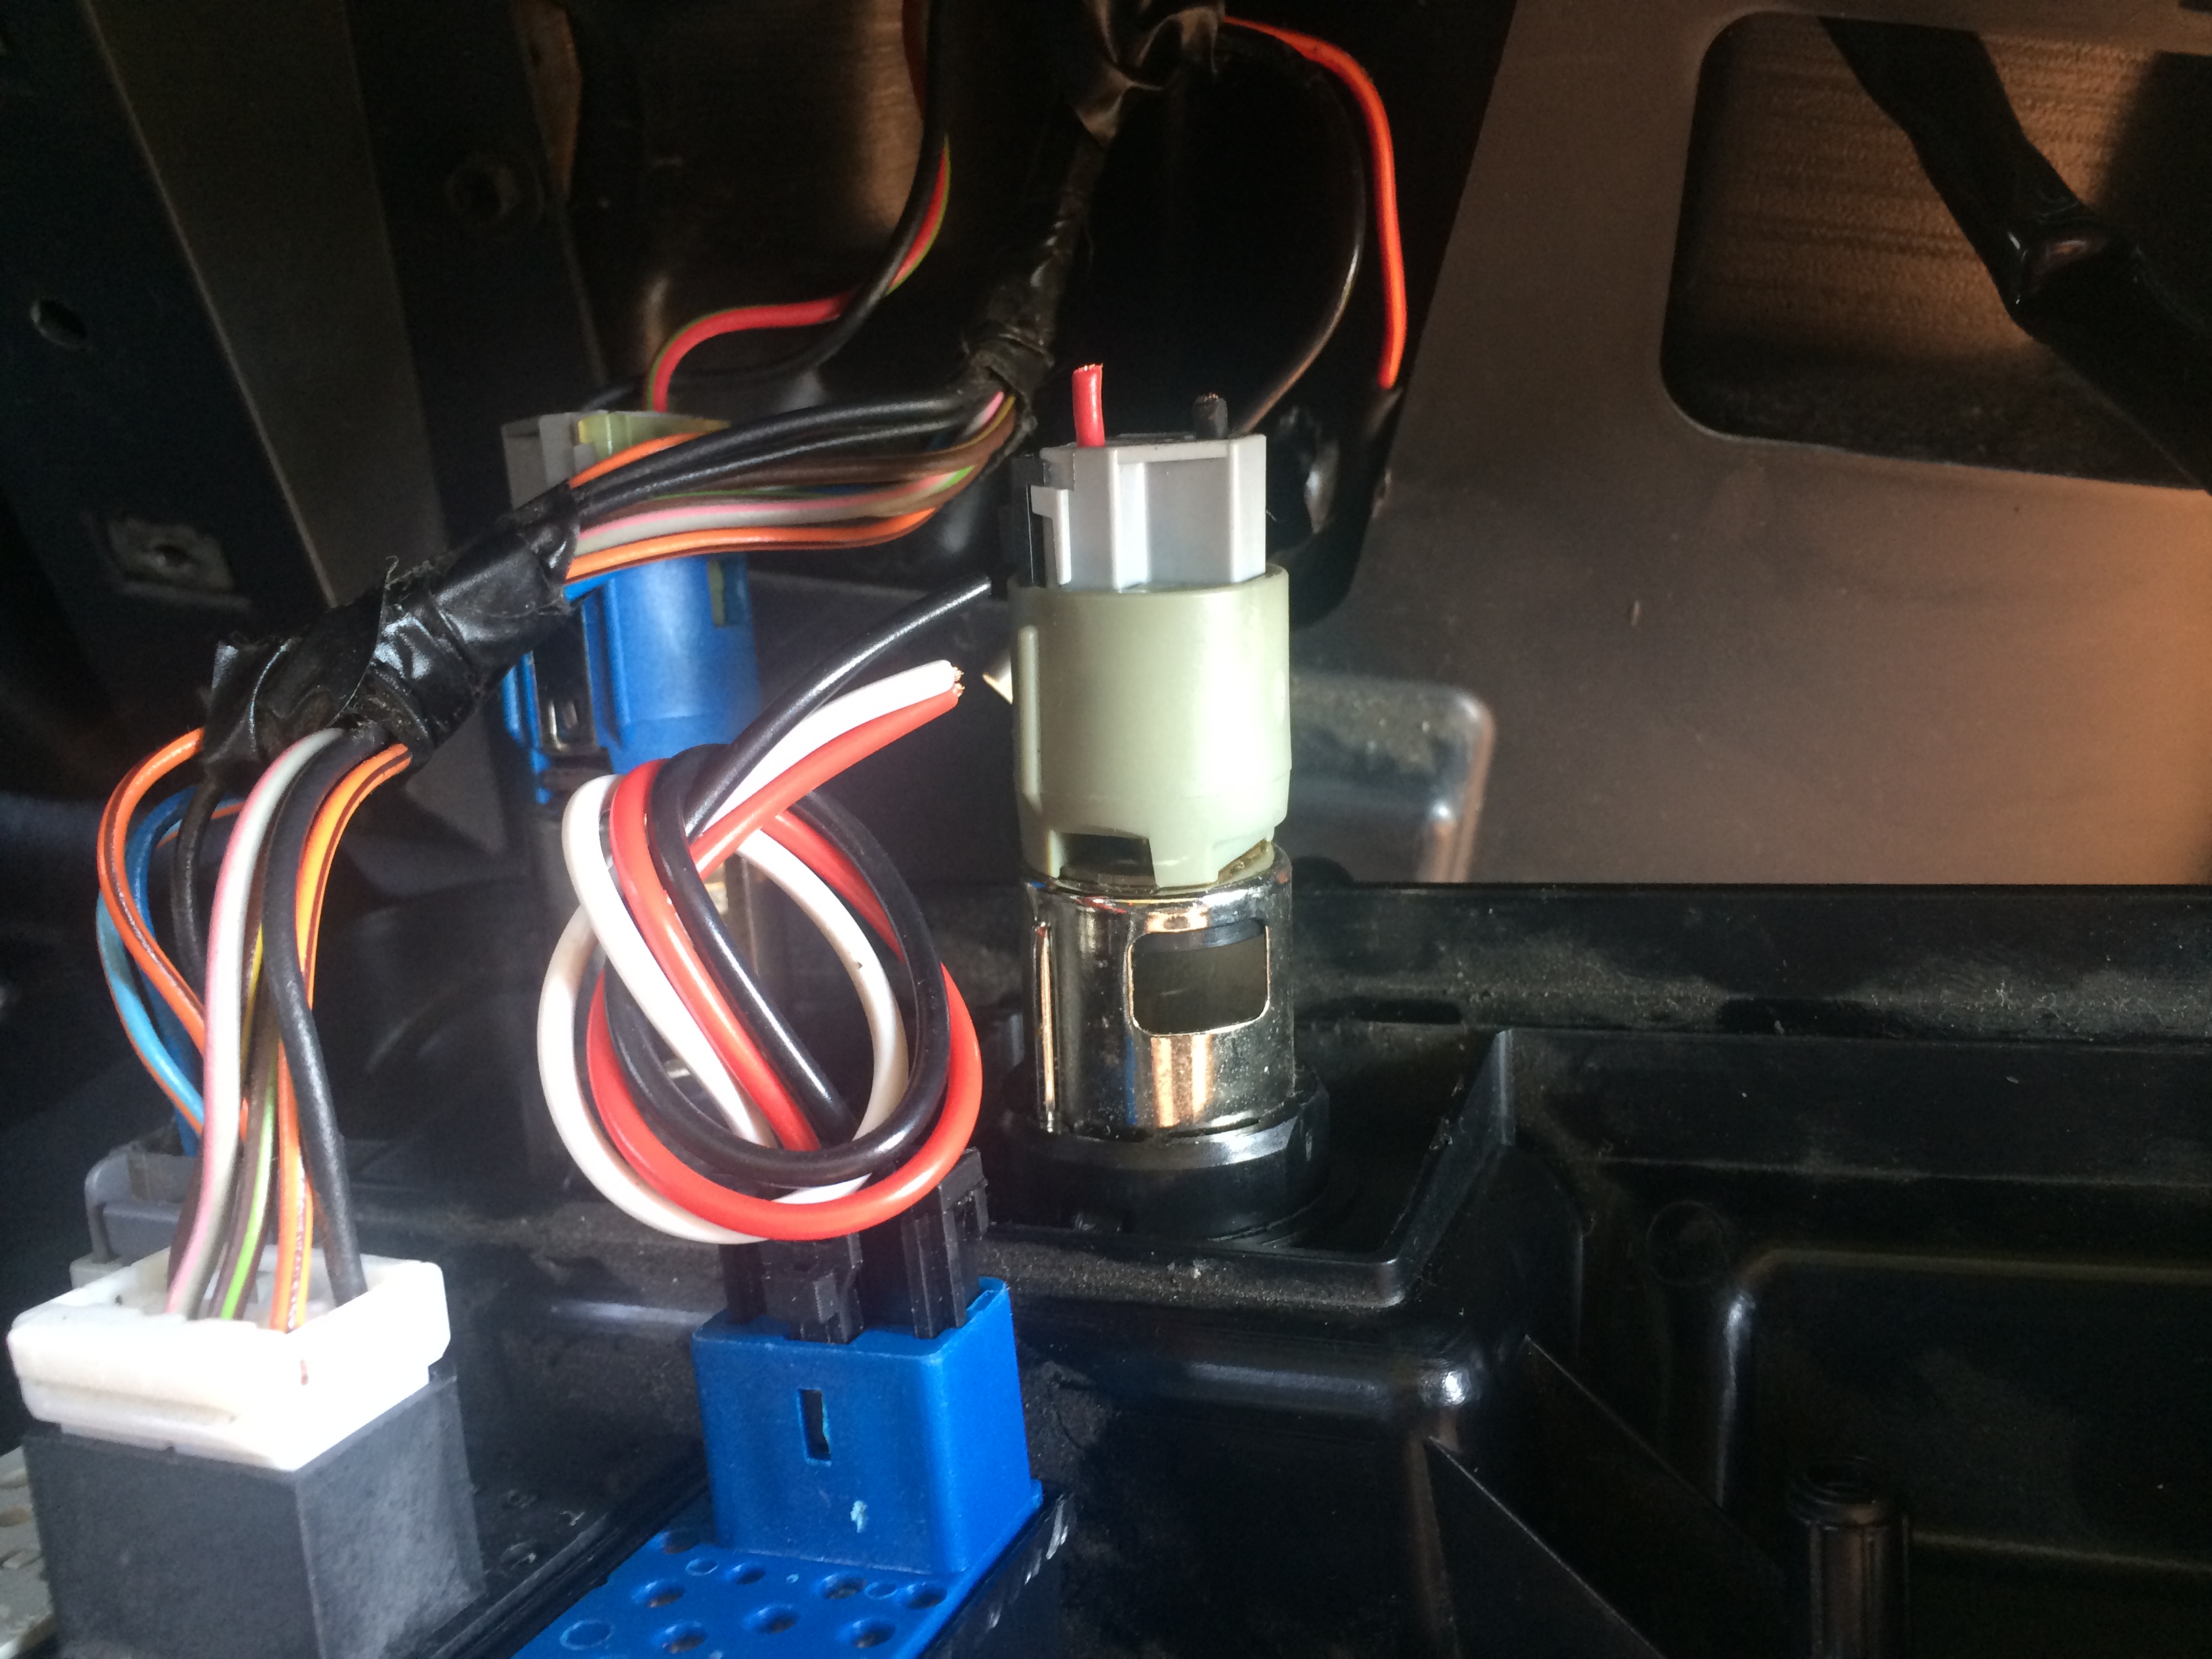
Remove the factory power port and resize the hole for the body of the USB power port, if necessary. In our case, we had to open the hole up to 1 1/8”.
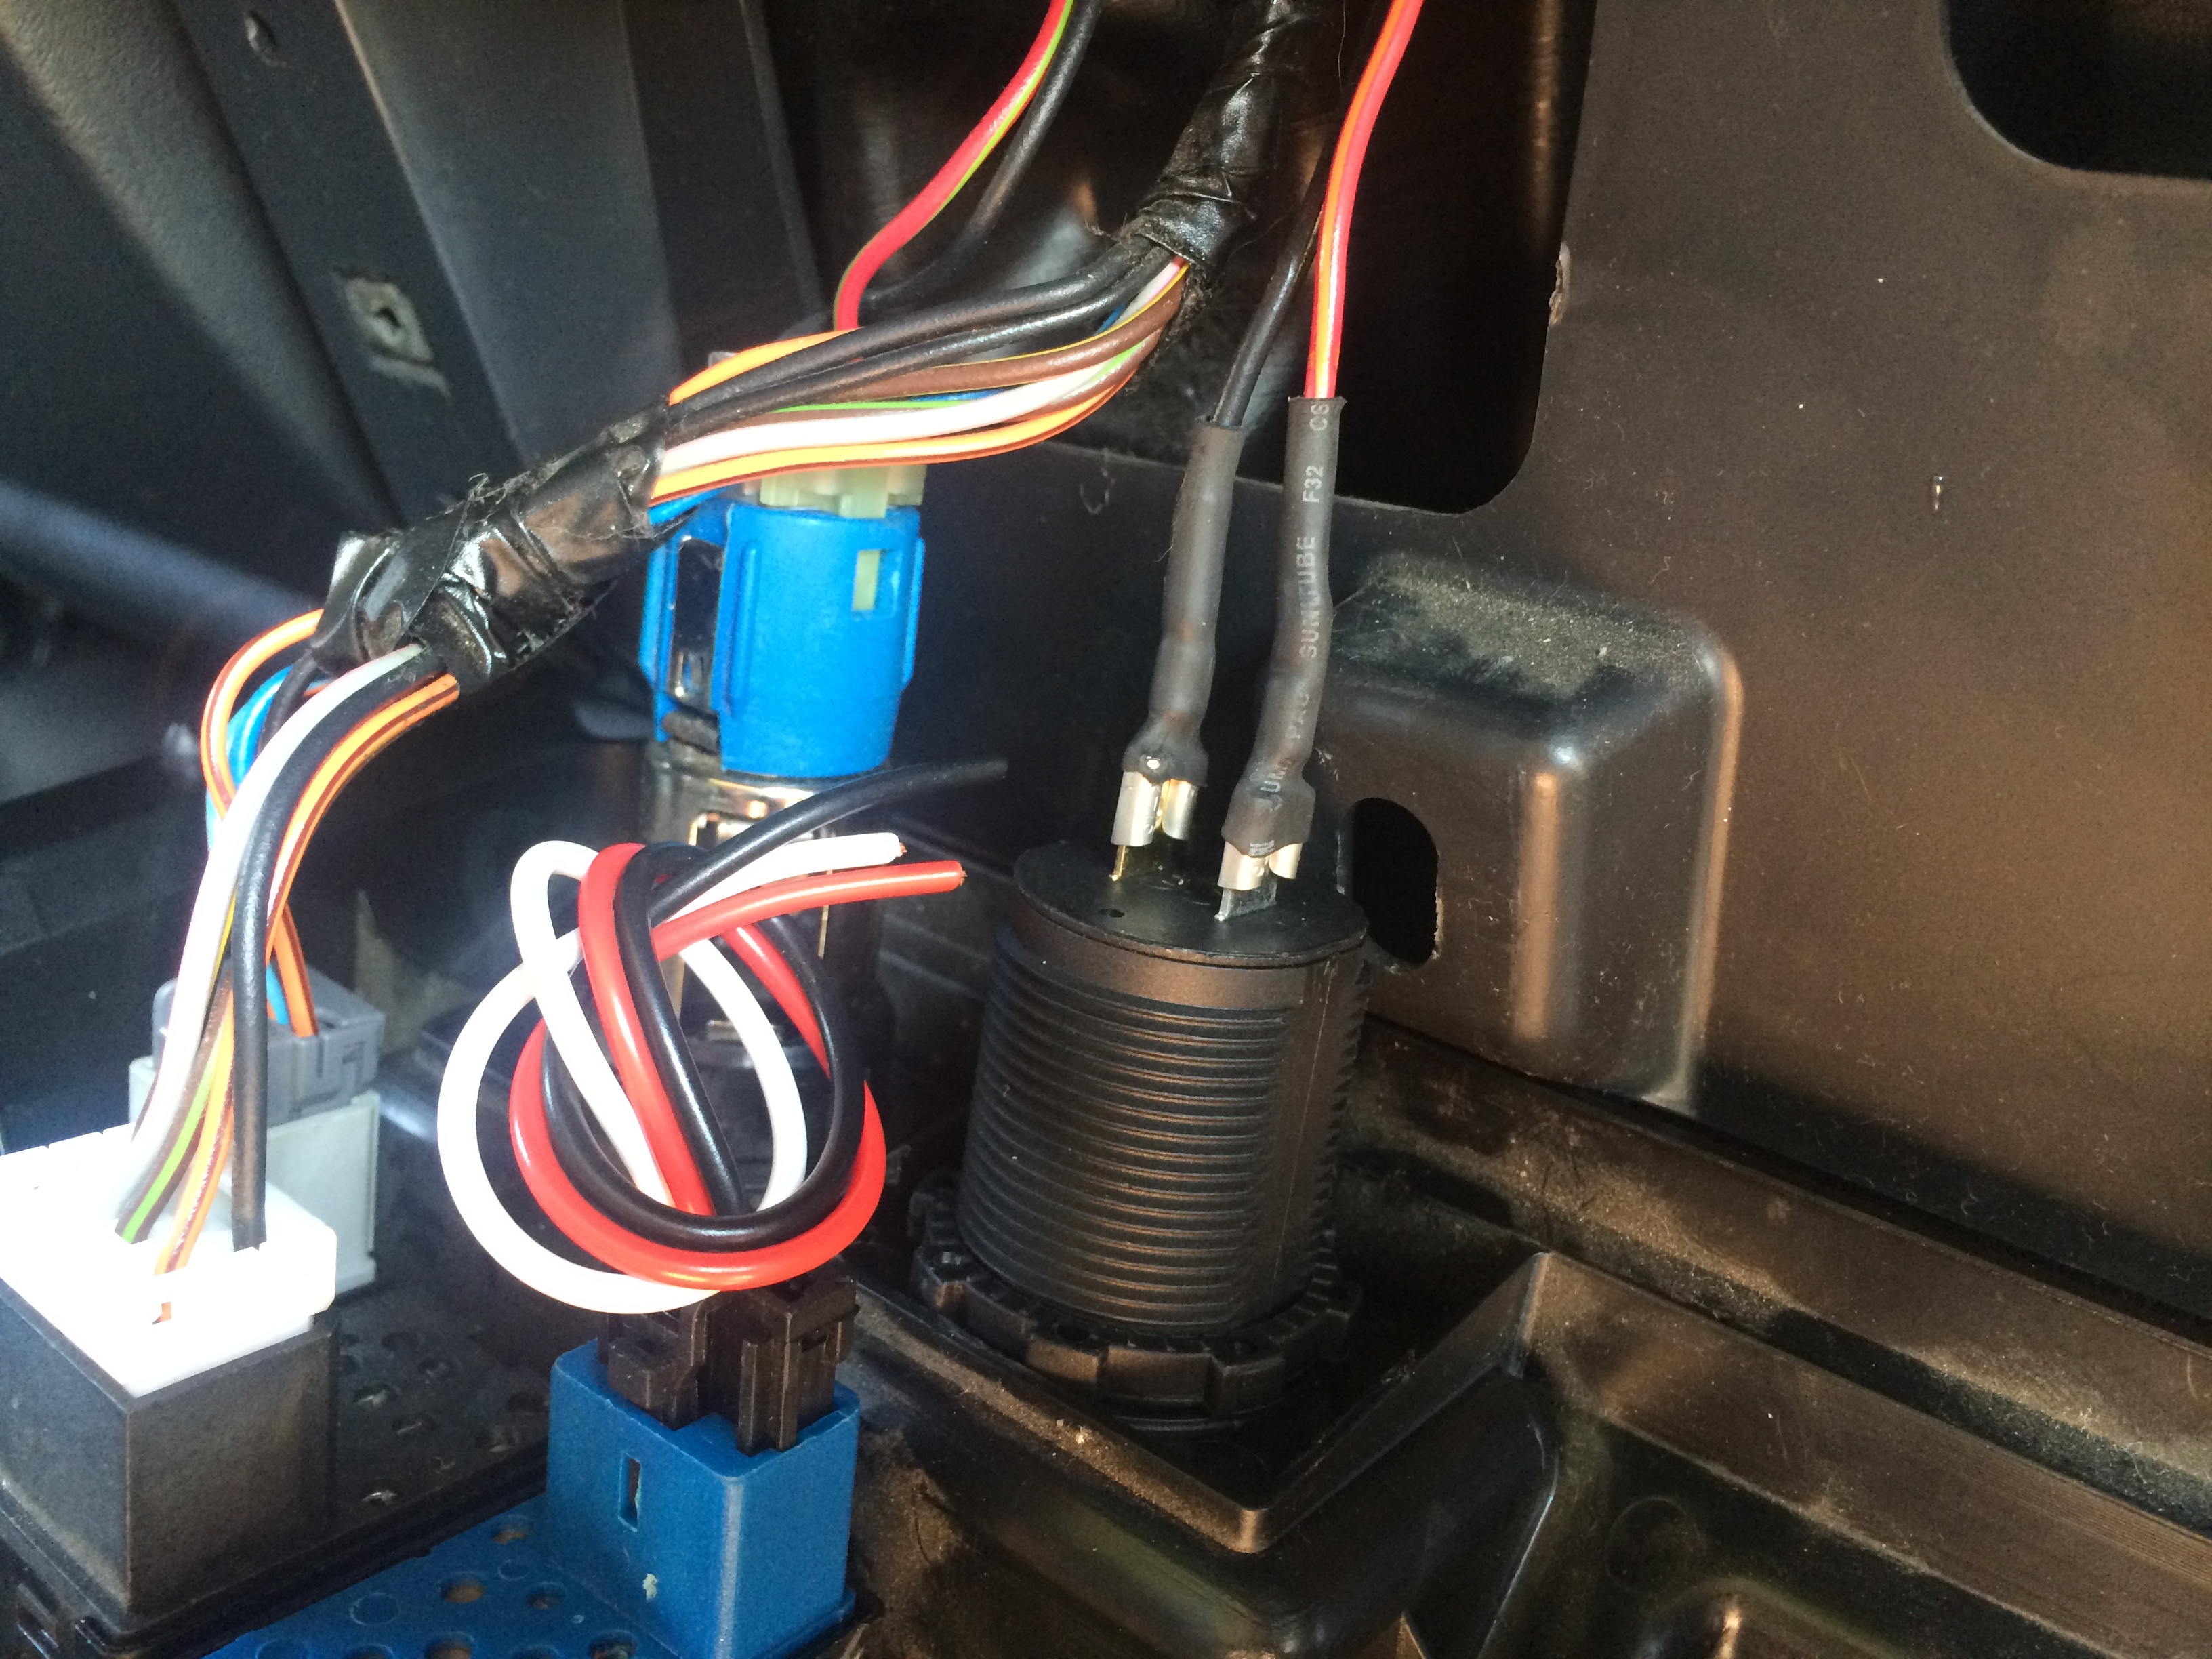
Install the USB port into the open hole in the panel. We soldered and shrink wrapped two female spade connectors of the needed size on the power port supply wires to connect them to the USB port so that it’s easily disconnected if needed.
Reassembly of the dash is the reverse of disassembly. Don’t forget the two screws at the top of the center panel. Step back, admire your handiwork, and charge away!