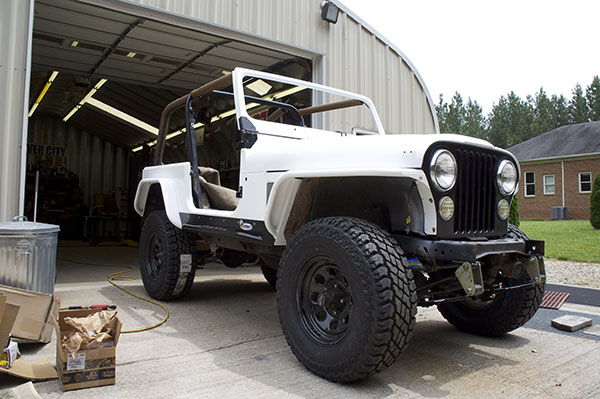
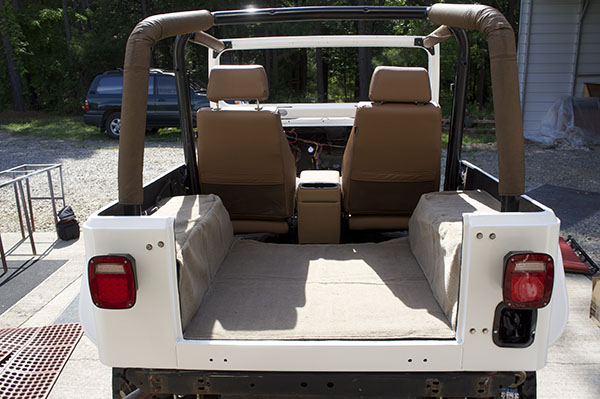
In our last installment of CJ in the Driveway, we went through the body and cleaned, stripped and painted the exterior panels. We Installed our front fenders from GenRight Offroad and also tore out all of the rule management system in anticipation of the conversion to fuel injection. We addressed the brakes with a power brake booster and a new master cylinder. In this article we will cover the re-assembly of the interior, add some new life to the ride by installing new springs, and finish up the fuel system.
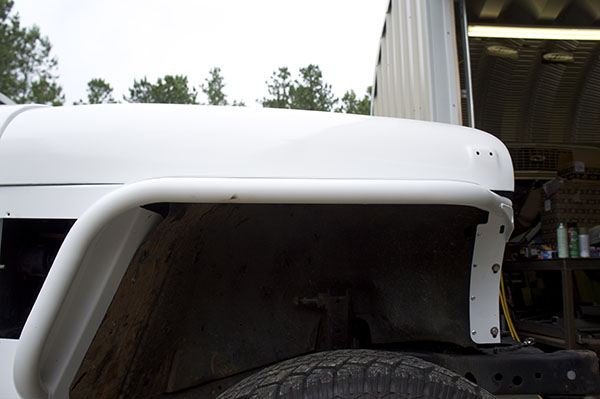
The tube fenders in the front of the CJ gave us several inches of clearance over the stock steel fenders, and added an extra level of protection to the front end of the Jeep. Made from 1/8th inch plate and 1 and 3/4 Dom tubing, they open the wheel well up and create a more of a modern look for the classic lines of the CJ. The stainless steel vents on the outside of the fenders also help to move air through the engine bay and keep engine temperatures at a more reasonable level. The fit and finish on these fenders are amazing. After modifying the inner fenders and mating them to the new outer tube fenders, it’s a simple process of bolting them in place.
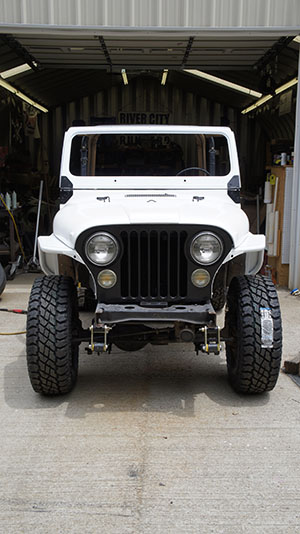
Since we opened up the wheel wells and widened out the tire coverage with the 4 inch flares, we needed to address the rear tires as well. We opted to get a matching set of 4 inch wide flares from GenRight. These can be used directly on the body as we have done, or in conjunction with the plate side armor GenRight provides. Our body tub is straight and smooth, and we do not see this Jeep being used for extreme trail use, so we opted to install the flares directly to the tub (lets hope we made the right choice).
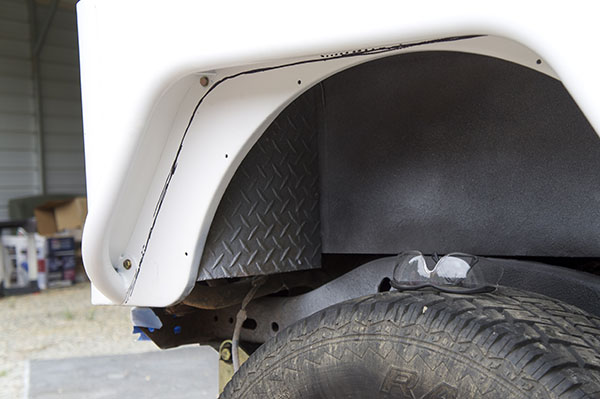
Installing the rear flares is a bit more involved than the fronts. We used a set of GenRight rocker protection tubes to set the location for the flares on the tub. Once set, we marked the mounting holes, and went after the body with the drill. The wheel opening is dramatically changed with the new flares. It opens the CJ stock opening up by several inches in preparation for larger tires. After mounting the flares on both sides, we got out the sharpie and marked the body for a little sheet metal removal.
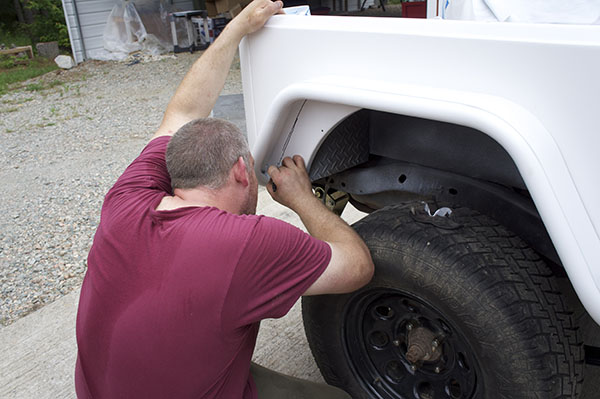
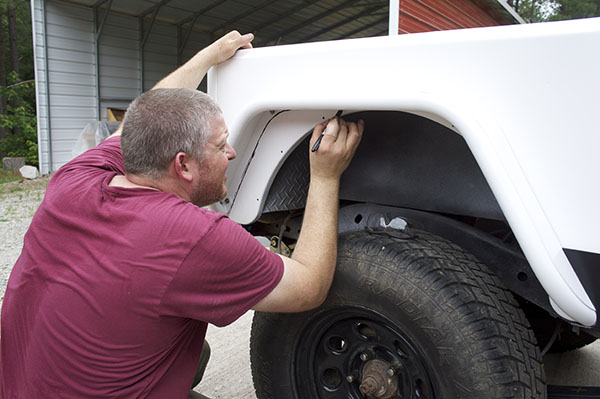
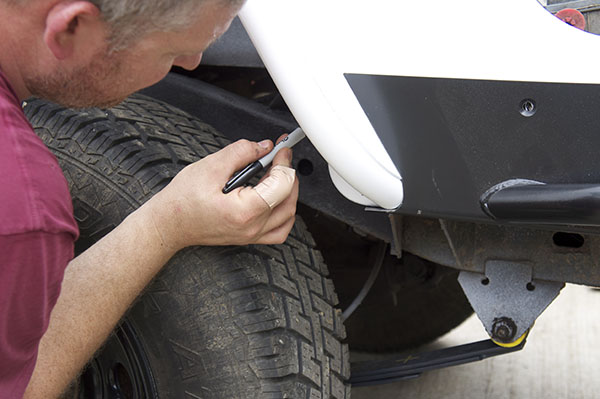
When cutting the body there are several options for making the cuts like a sawzall, body saw, cut off wheel, torch, plasma cutter, etc. Since we had already painted the body, we chose an air powered body saw and trimmed the panels. After trimming, we touched up the paint and moved on to the next phase.
Leaf spring suspensions are considered by many to be rough riding and uncomfortable. They are also thought to be less capable than coil and link setups. However, converting a CJ to coils and links is not a driveway project. We did a little research and came up with a solution for our CJ project.
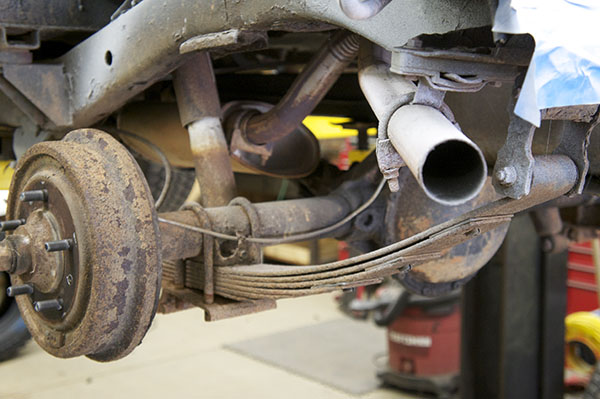
The folks at ARB make fantastic suspension systems and we decided to use their Old Man Emu springs for a YJ (87-95 Wrangler). The springs are just a bit longer and much softer than the factory CJ springs. They are also 2.5 inches wide front and rear (the CJ is 2 inches in the front) These springs add about 2 inches of additional ride height over stock on the YJ and just a bit more on the CJ. The fixed end of the spring mounts are opened up just enough to fit the wider springs.
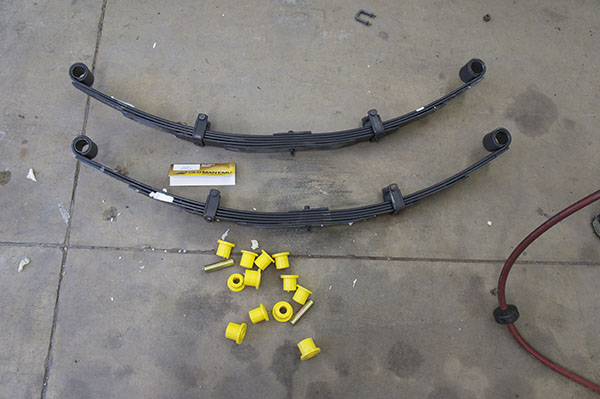
The shackle end of the springs are attached to the frame using OME anti inversion shackles and conversion frame hangers sources from Drive Offroad.
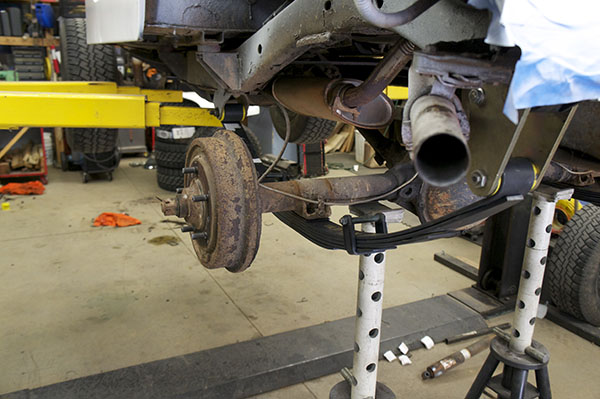
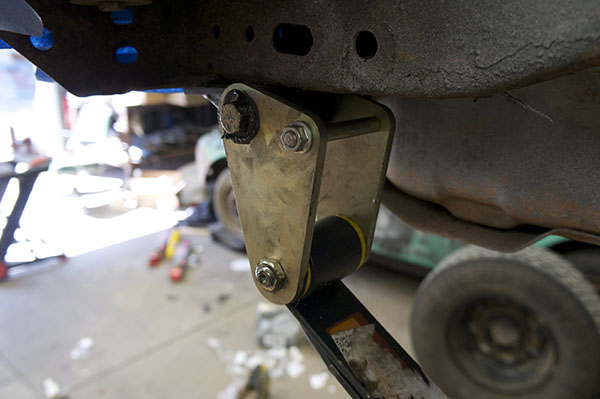
We had to move the spring hangers out about an inch on both the front and rear. There was a little issue removing the factory hanger bolts in the rear of the Jeep so a bit of time with a drill bit and a welder was required to install new welded inserts for the hangers to bolt to.
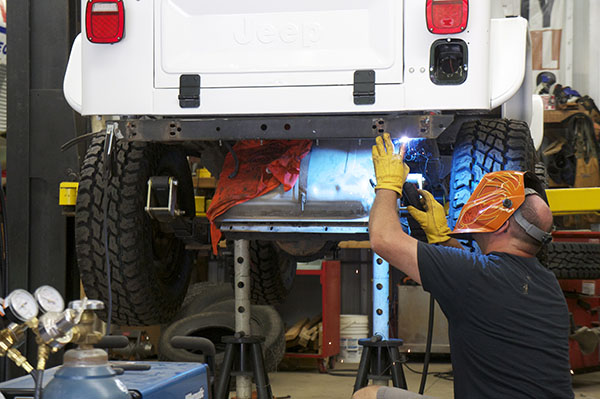
New u-bolts and plates for a YJ application were also sourced from Drive Offroad. The front YJ plates allowed us to retain the stock anti-swaybar, and the rear plates allowed us to keep the shock mounts in factory locations in the rear. OME Nitrocharger shocks round out the suspension install along with OME bushings.
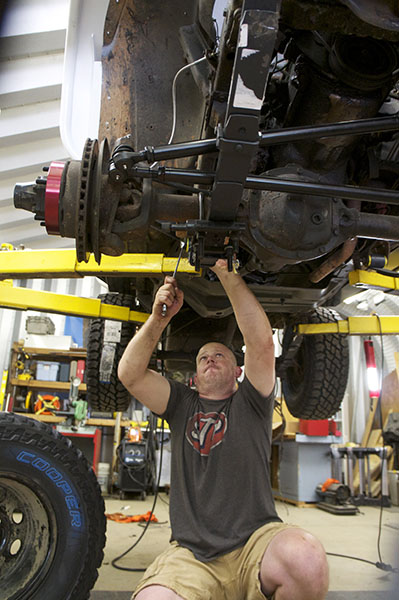
This kit rides great. The suspension is well-balanced and flexes surprisingly well for a leaf spring Jeep (we”ll talk more about this in a future article).
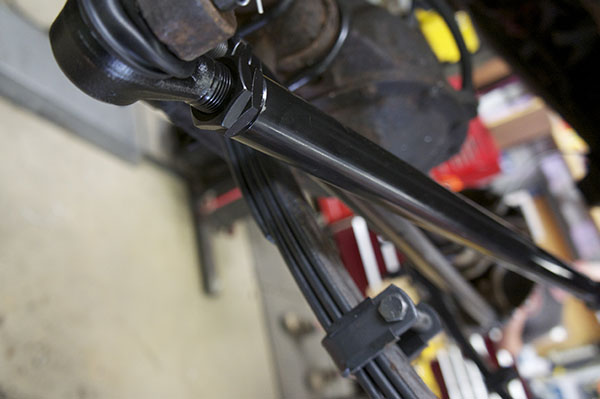
We added the extreme duty CJ steering from Rugged Ridge to freshen up the front end of the Jeep and wrap up the suspension install. This steering is a direct replacement part that uses a larger diameter DOM tubing tie rod and drag link.
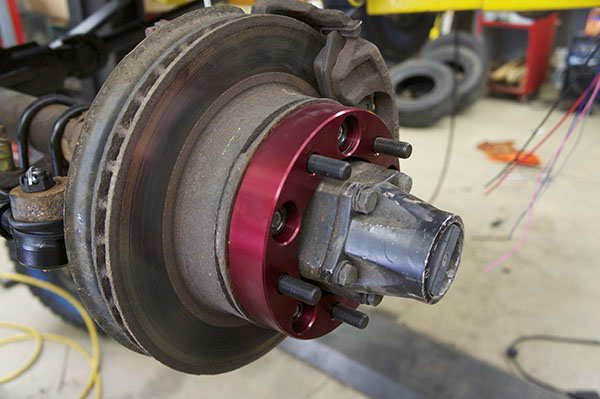
We also added a set of wheel spacers to move the wheels out just a bit. This is in anticipation of the wider stance of the tube fenders and flares. We will see if we need to leave them on once we get the wheels and tires done.
Carburetors are a great way to put fuel in an internal combustion engine if you are living in 1970. However, these days fuel management and delivery has become a bit more scientific. The great people at F.A.S.T. (Fuel Air Spark Technologies) has created a kit to address the inherent issues of the older fuel systems.
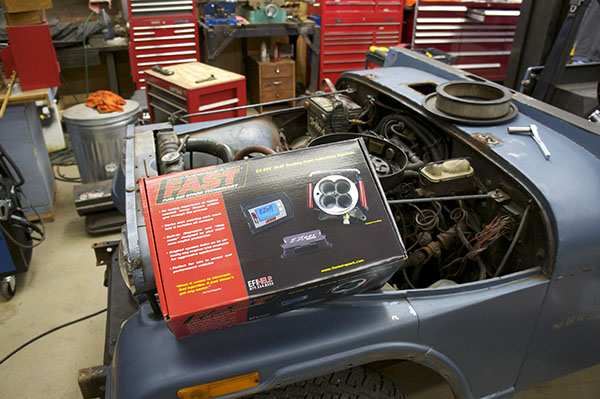
The heart of the system is a throttle body that mounts to an adaptor plate. After removing all of the parts related to the carburetor, you install the plate, linkage, and throttle body. Wiring is simple and pretty straight forward. Using a temperature sensor and a wide band oxygen sensor, the system provides a very quick and painless solution to fuel delivery. Installation of the O2 sensor does require welding a bung in the down pipe.
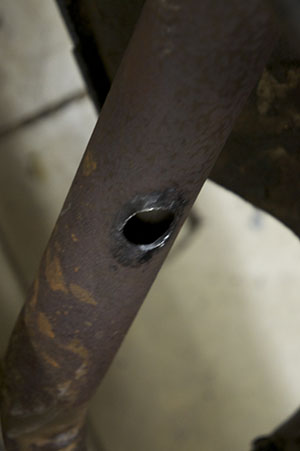
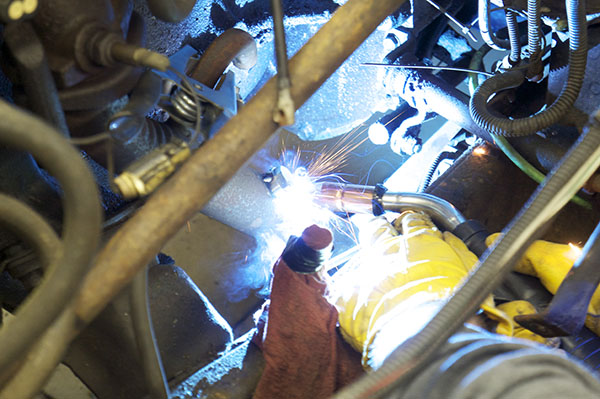
Our driveway had the luxury of access to a welder. However, you could also have the part welded in at any exhaust shop and then install the complete down tube in the Jeep.
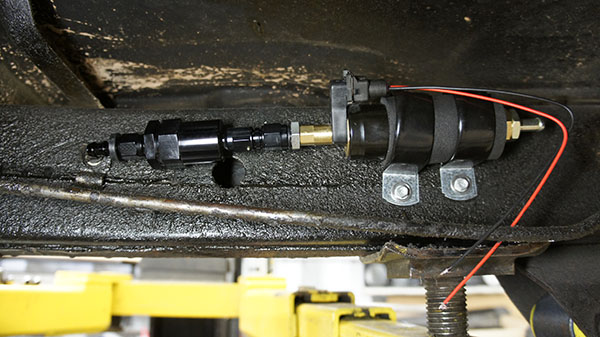
We installed the fuel pump and filter on the passenger side frame rail as close to the tank as possible. Flexible fuel line with push lock fittings are provided and this makes a rock solid solution.
You will need to source an air cleaner, as the kit will not work with the stock unit. The unit has a control computer that needs to be mounted close to the throttle body. We chose the inner fender behind the driver side headlight. from that location we can tune the system using the hand-held remote, while keeping it up high to avoid water and mud. After running through the setup wizard and dialing in the fuel pressure with the provided regulator we hit the key and VROOM…. the old straight six rumbled to life. We have been working on some fine tuning of the system for power and economy, but as they say that is a story for another time.
Rounding out the engine modes we went to our local parts supplier and ordered the factory replacement exhaust pieces, these went back in the stock locations. While it is not a performance exhaust, the motor is not a performance motor. We are after drivability and installation ease. You could choose to take your Jeep to a shop and have custom exhaust made, but we are happy with the results.
What we discovered while working on the fuel injection is that is hard to sit on the floor boards and press the gas pedal. So we took some time to reassemble the interior. The original interior was beat, and it was gray. We changed the body color, so we wanted an interior that looked good and lived up to the goals of the project. Drive Offroad once again stepped in, Rugged ridge direct replacement seats, carpet kit, and center console in spice and tan. The molded carpet kit almost jumped in the jeep, to be honest we expected a tough time cutting and shaping carpet.
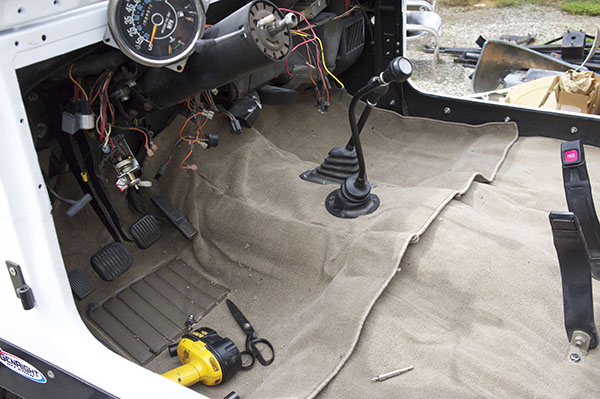
Not so, the kit is a great fit and looks sharp.
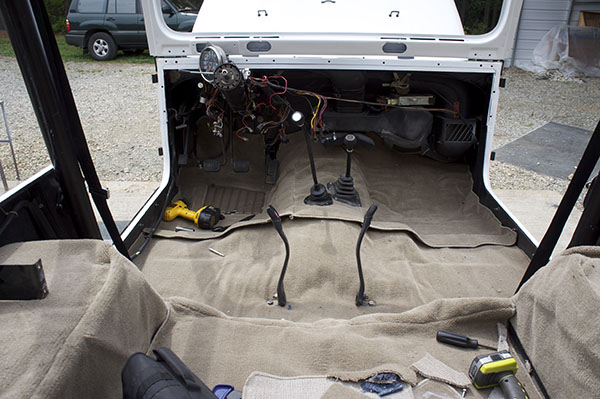
The seats bolt to the factory risers and the console bolts to the floor much like the aftermarket one that came out.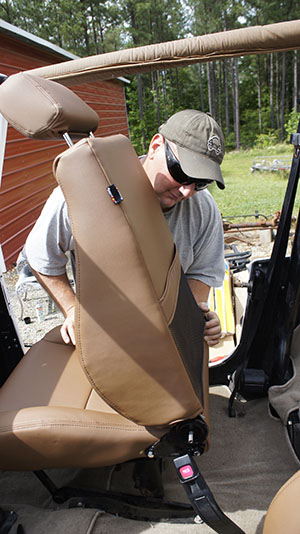
The Jeep had the fastback roll bar that signifies the CJ7 look. However we have plans for rear seat occupants. A little junkyard trip found us a factory bar from a 95 YJ with spice padding intact.
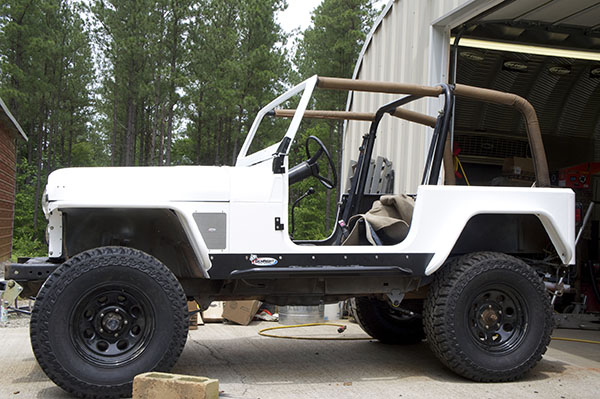
The same donor YJ provided a almost new Bestop replacement top with all of the factory hardware. Using the bars over the door opening as a template we marked and drilled the windshield frame. Rivnuts were inserted and the bar was bolted to the CJ windshield frame. All of the holes in the tub lined up like the bar was built for the old tub.
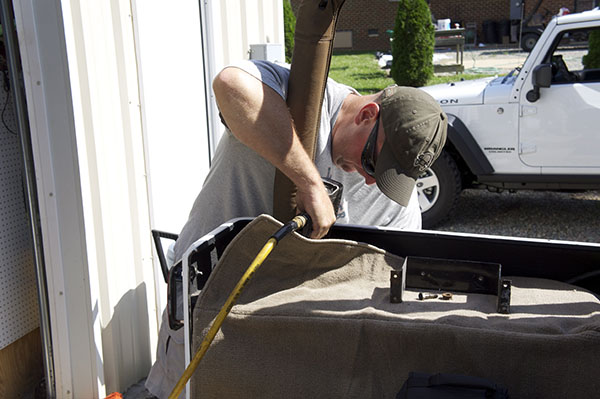
While we had the windshield out and the interior part we replaced the problematic windshield wiper motor and linkages with new parts from OMIX-ADA sourced from Drive Offroad. All new hardware and hinges to match the new white and black color scheme have been installed and are also out of the OMIX-ADA catalog.
The seats are comfortable and the colors match. The look of the tan interior with the white paint reminds us of the Sahara TJ’s, with a tan top we think it’s a great look.

Next time, we talk about tires, install bumpers and winch, put on some lights and take it out for some trail time. Stay tuned
