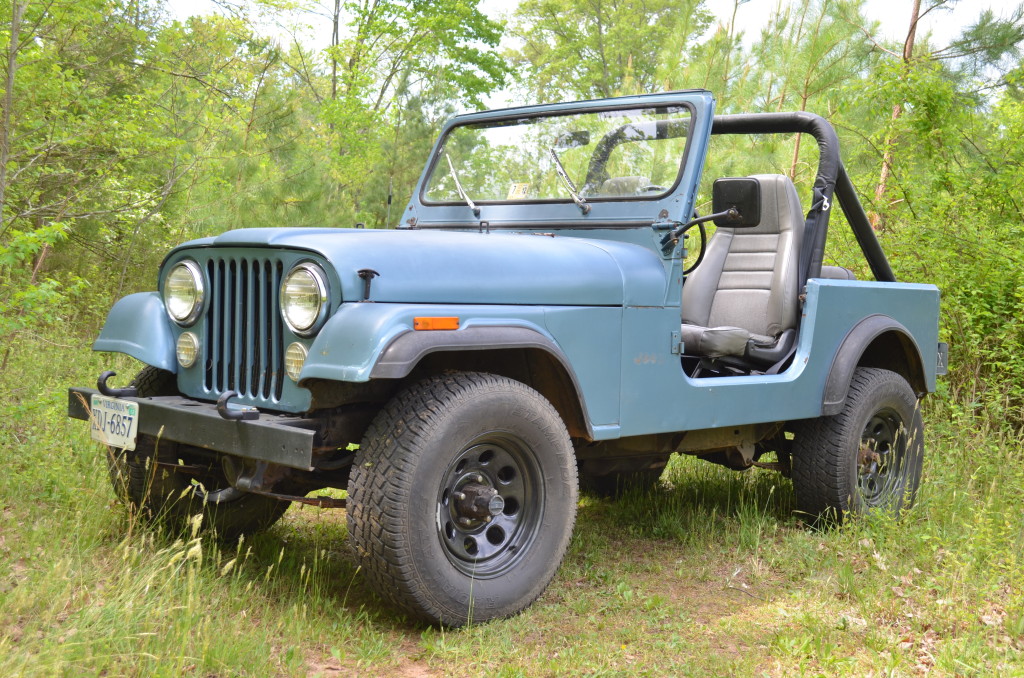
We took our ’85 CJ into the shop (Tech Editor John Bailey’s driveway /shop) and began tearing into the jeep. As we mentioned in last issue we have some big plans for this CJ7.
Just about every nut, bolt, and washer is available for these old Jeeps from aftermarket suppliers. So we are going to use readily available parts, no custom fabrication, no expensive tools required, and no special skills. Just the basic understanding of vehicle maintenance and the average driveway set of tools. Hence the title, “CJ in the Driveway”
We start with this 1985 CJ7 that is bone stock and unmodified.
The current plan for the jeep includes:
– Full interior restore (seats, carpet, console, visors, etc…)
– YJ suspension conversion
– Wheels and tires
– Bumpers
– Sliders
– Winch
– Refrigeration and storage
– New top and top doors.
We will also do a Fuel injection conversion and a power brake conversion to bring it up to a more modern standard.
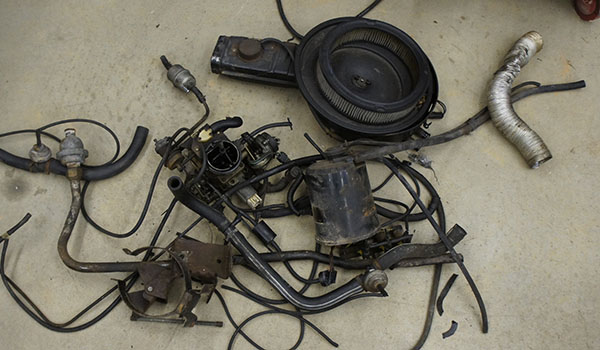
In order to get a clean starting point we picked the engine compartment to start our work. We tore into the fuel system, removing the old carburetor and what seemed to be a mile of vacuum tubes. We do not have Smog testing in the state this Jeep lives in so we were not obliged to keep the emissions controls. Truth be told, we should be lower on emissions after the fuel injection conversion than we were with all that mess.
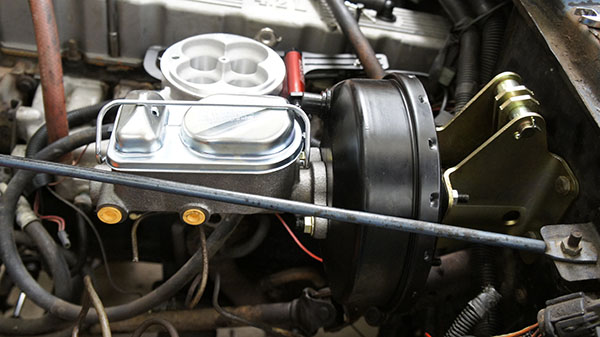
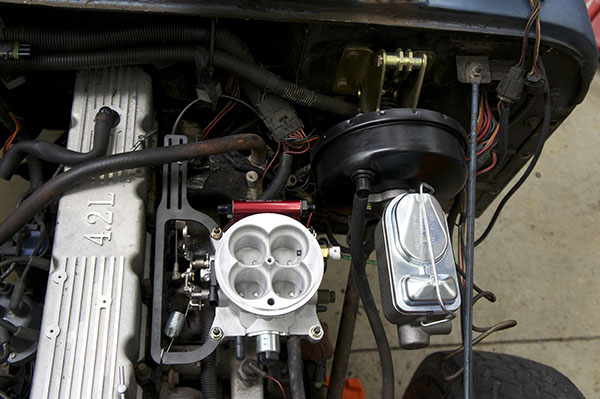
Once we got a clean slate to work with in the engine compartment, we painted the firewall with a little black rattle can and installed the power brake conversion system from Omix-ADA. This kit is a reproduction of the factory CJ bracket, with a new booster and master cylinder. It locates just as the stock one did and makes for a very straight foreword conversion.
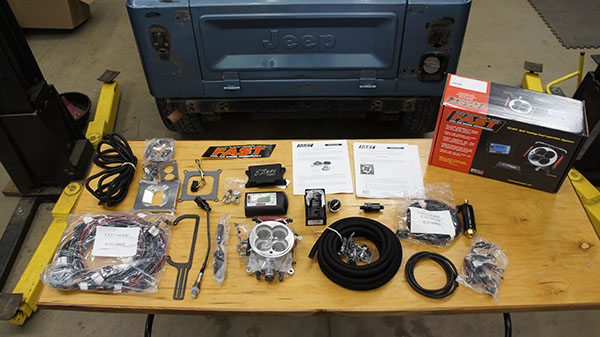
We then began tear down of the body for paint prep. We first removed the fenders, hood, grille and windshield frame. We then stripped out the interior seats and carpet, as well as the console and visors. The dash was removed and the gauges and knobs were taken out. We mocked up the throttle body from FAST on the 258 six cylinder, hooked up the throttle linkage, and left the fuel system to sit for awhile. Look for a full review of this system in a future issue!
.
Next, we needed to address the body. Like I said before we stripped as much off as we could, stopping just short of taking the tub off of the frame.
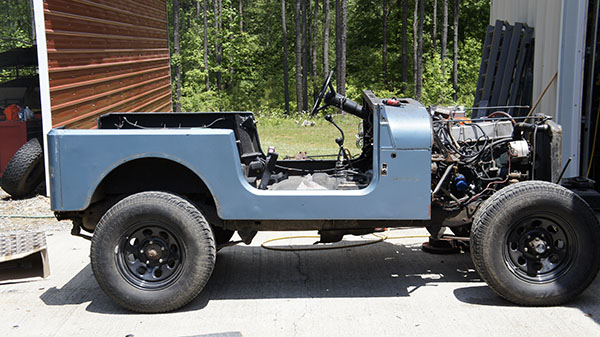
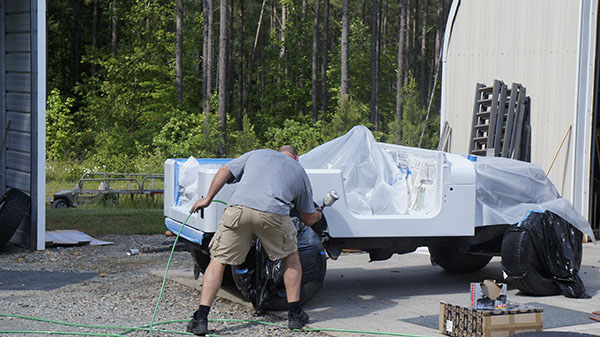
We decided that we wanted to give the CJ a clean look. What looks cleaner than a fresh coat of white paint? So we went to Duplicolor for their paint shop series of products. These paints are a ready to spray lacquer system. If you put in the time to prep and finish, you can yield some really nice results on a budget and without the need of special tools. Not everyone has the luxury of painting a vehicle in the driveway, however, all of the prep work can be done beforehand. Then you just have the jeep towed to a spot with a paint booth. This will make a big impact on your budget.
We took the removed body’s parts and began to prep them for paint. We used a paint stripping compound to remove the multiple layers of paint and years of gunk from the different pieces. This stuff is nasty and caustic to use. PLEASE, PLEASE, PLEASE use caution and follow the safety instructions on the container. This stuff will remove anything, including skin given enough time. Once cleaned of paint we addressed dents and rust.
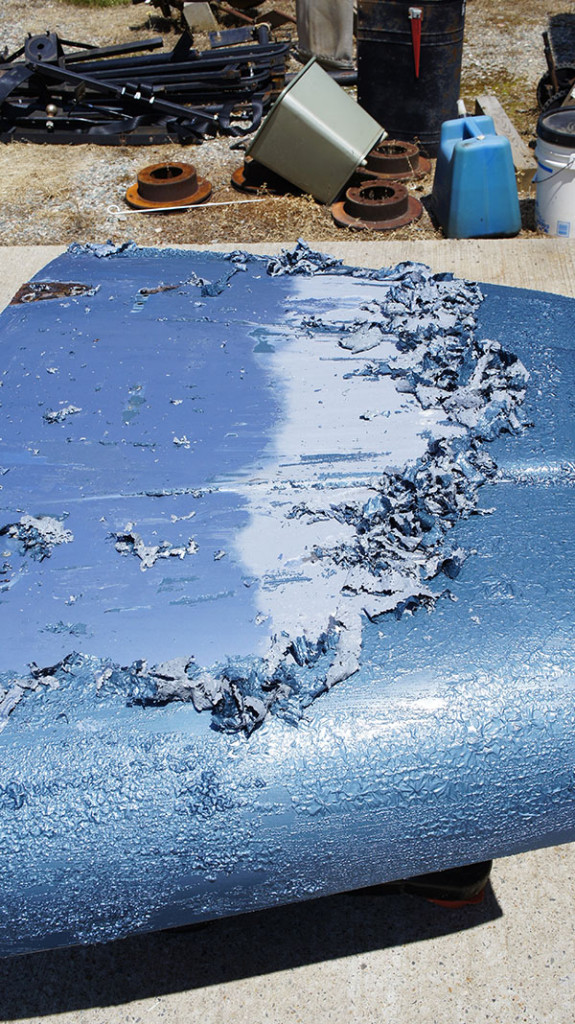
Remember folks, these cars came with body filler from the factory. Don’t strip all of the filler unless there is a major dent that can’t be skimmed over or rust that needs repair. On the tub we used a dual action (DA) sander and some 100 grit paper to break the top coat of paint. Where needed, we sanded down to bare metal.
Once all of the body stuff has been prepped, sanded, stripped, worried over and sweated on, we taped off the body to prepare for primer.
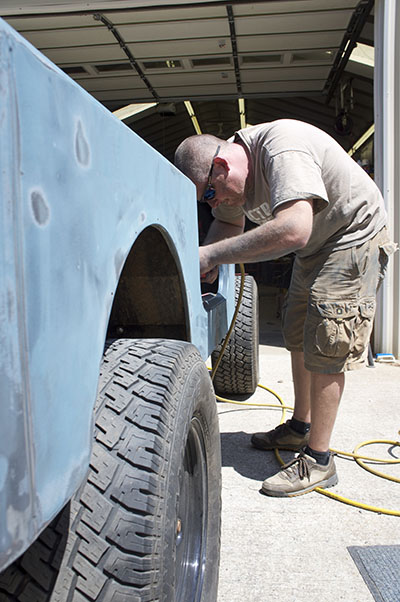
We are replacing some of the parts on the CJ. We wanted to run larger tires with minimal lift. This would require fender mods. For that we went to THE source for tube fenders GenRight Offroad. Tony Pellegrino and his crew have been making some of the coolest parts for Jeeps for years. We got a set of the new Generation III tube fenders for the front with 4 inch flares and a matching set of 4 inch flares for the rear.
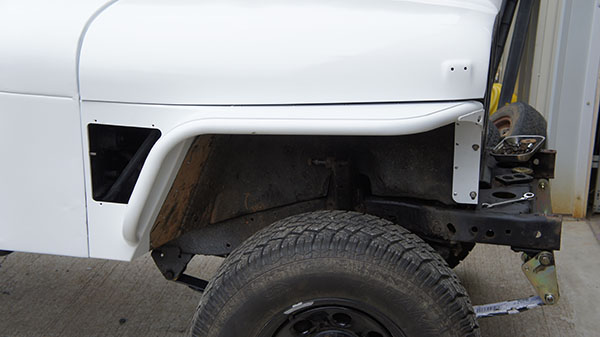
We also added the Rocker guards with tubes to round out the package. We will be painting the fenders and flares the same color as the body. However, prep is a bit different on these.
To paint new metal, we used an adhesive remover and pre-cleaner to get all of the oil and shipping gunk off of the metal. We then filled up the HPLV gun with self etching primer and laid down a few coats. After priming all of the new parts as well as the tub, we wiped off the surfaces and shot the color and clear coats over the course of a day.
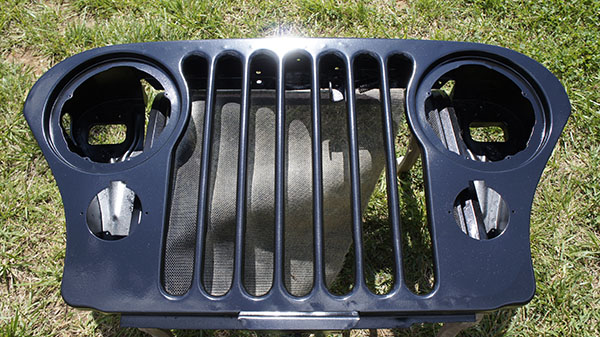
A quick wet sand between the color coat and clear coat smoothed out the high spots.
Next month we dive into the interior rebuild as well as adding the fuel injection system. Stay tuned!
