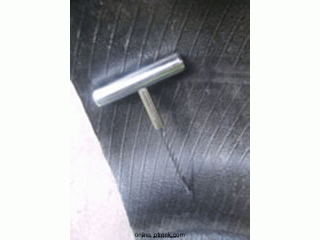
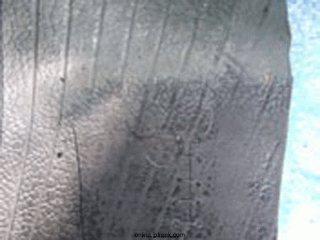
Step 1. Make holes in the tire for the stitches
Drill or poke holes on either side of the split so that you can stitch across the area. For example, I like to have one stitch above, one below, and three stitches across a 1.5” split. If a cordless drill isn’t available, I use the reamer from the Ultimate Puncture Repair Kit.
Step 2. Mark the area to be patched
Size either a regular patch or a larger Baja Patch to cover the split. Mark out the area perimeter using chalk.
The interior of the tire is coated with an impervious shiny layer that stops air bleeding out through the tire. Unfortunately, a patch won’t adhere to this layer so it needs to be mechanically removed using the rasp.
Step 3. Remove the impervious layer
Spray a solvent onto the area as it speeds up the process and makes it easier to mechanically remove the layer with the rasp. Be thorough and rough up the entire marked area, then make sure all the shiny layer has been removed
Step 4. Sew the split
Take a section of thread and push it through one of the holes using the reamer, the thread should form a loop inside the tire. Push the other end of the thread through the hole on the other side of the split. Take the loose end of the thread and put it through the loop.
Pull the loop back through the tire so both free ends of the thread are on the outside of the tire.Knot the two ends together to form a stitch.

