Sun Exposure: You will be in full sun most of the hike.
Trail Usage: This is one of Zion’s main landmarks, but few adventurers venture past the viewpoint or parking lot just off the side of the road, therefore the route gets little use.
Permits: Not required.
Trailhead: Checkerboard Mesa viewpoint parking lot.
Trailend: Same as the trailhead.
Trail Access: Highway 9 (Zion-Mt. Carmel Highway) is open year-round, but the route itself can be difficult during the summer when vegetation growth restricts the trail.
Best Season: Spring, summer and fall. Snow and ice on the northern exposed chute and eastern sloping ledge can make travel extremely dangerous during winter and early spring.
Elevation Gain: 900 feet
Off the Beaten Path: Yes
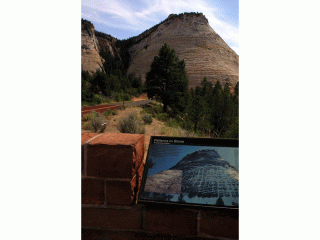
Parking – Drive to the east entrance of the park where you will find the Checkerboard Mesa pullout and view point, just east of the toll booth. Walk west along Highway 9 until you are at the base of Checkerboard Mesa.
The Wash – Follow the drainage on the east side of the mesa that runs along the slickrock, bypassing several potholes. Before too long the path becomes a sandy wash, winding southerly and ascending to the saddle that separates the more popular area north of Highway 9 from the less visited plateaus above Parunuweap. Stay in the wash as much as possible, passing the social trails that split off to the left, heading into the shrubbery on the hillside above. You will find the travel easier if you stay against the mountain and your hike will result in less erosion to the hillsides on either side of the drainage. There will be a few dry-falls along the route that can usually be avoided by going left, up and then around. The ascent will increase as the top of the saddle becomes more obvious. Watch for a visible trail that emerges and ascends through the trees. This “trail” will take you out of the drainage where you need to then locate the path which branches to the right before it reaches the actual saddle highpoint.
